Configure OAuth 2.0 authentication
OAuth 2.0 (Open Authorization 2.0) is an open standard for access delegation, commonly used to grant third-party applications limited access to a user’s resources without exposing their credentials. It allows secure access to a resource on behalf of a user while maintaining data protection and minimizing security risks.
OAuth 2.0 requires a browser for one-time user consent. The user must authorize the application’s request to access their data through a browser. Once consent is granted, the application can use the refresh token to maintain access without requiring further browser-based authentication.
Create a connected app in Salesforce for OAuth
Create a connected app to enable OAuth-based integration and allow external applications to securely access Salesforce data:
1. Log in to Salesforce and navigate to Setup.
2. In the Quick Find search box, type App, then select App Manager.
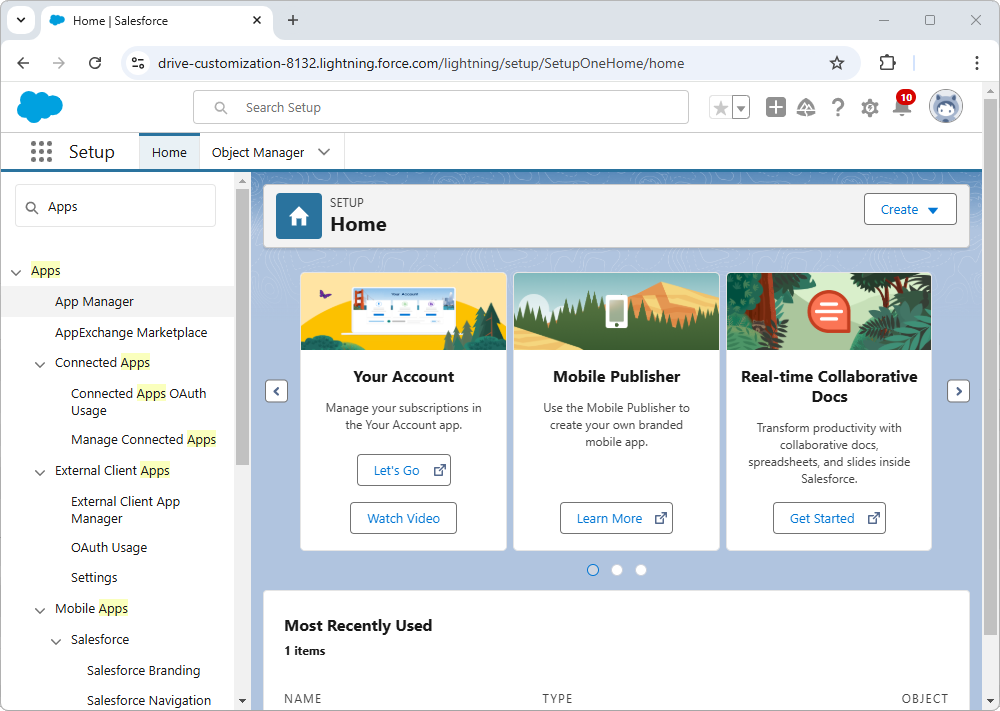
3. Select New Connected App.
4. In the dialog that appears, select Create a Connected App, then select Continue.

4. In the Basic Information section, provide the following details:
- App Name: A unique identifier for your application, displayed to users during authentication.
- API Name: An automatically generated value based on the app name.
- Contact Email: A support email address for inquiries and notifications.

5. Under API (Enable OAuth Settings), select Enable OAuth Settings, then enter a Callback URL, for example, http://localhost:56420 or another supported localhost port.
Note
You can use the following ports: 56420, 58728, 59132, 61361, and 62784.
6. Under Selected OAuth Scopes, select the necessary permissions for your application by clicking Add. Commonly used scopes include:
- refresh_token and offline_access: This scope allows the application to refresh access tokens without requiring user reauthentication.
- api: This scope grants access to Salesforce APIs for data retrieval and manipulation.
- full: This scope provides full access to Salesforce data, including read and write permissions.
7. Select Save to create the Connected App.
View the OAuth client credentials
1. Navigate to the App Manager, locate your app, and click View.
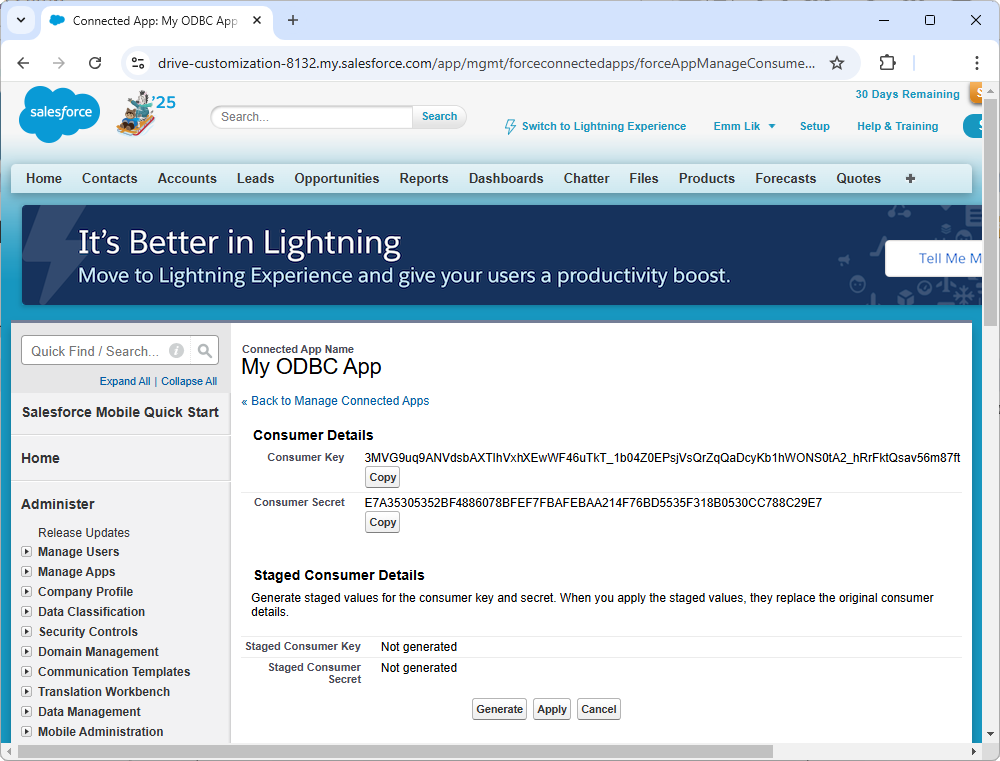
2. Next to Consumer Key and Secret select Manage Consumer Details.
A page will open displaying your Consumer Key (Client ID) and Consumer Secret.