Connect Adobe ColdFusion to Dynamics 365
Adobe ColdFusion is a web development platform designed to build dynamic websites and web applications. You can connect to Dynamics 365 and use its data in your ColdFusion application with Devart ODBC Driver for Dynamics 365.
Prerequisites
- Download and install Devart ODBC Driver for Dynamics 365.
-
Create a DSN for Dynamics 365. For instructions, see the topic corresponding to your operating system:
- Windows: Configure a Windows DSN for Dynamics 365.
- macOS: Create a DSN on macOS.
- Linux: Create a DSN on Linux.
Configure the ODBC connection
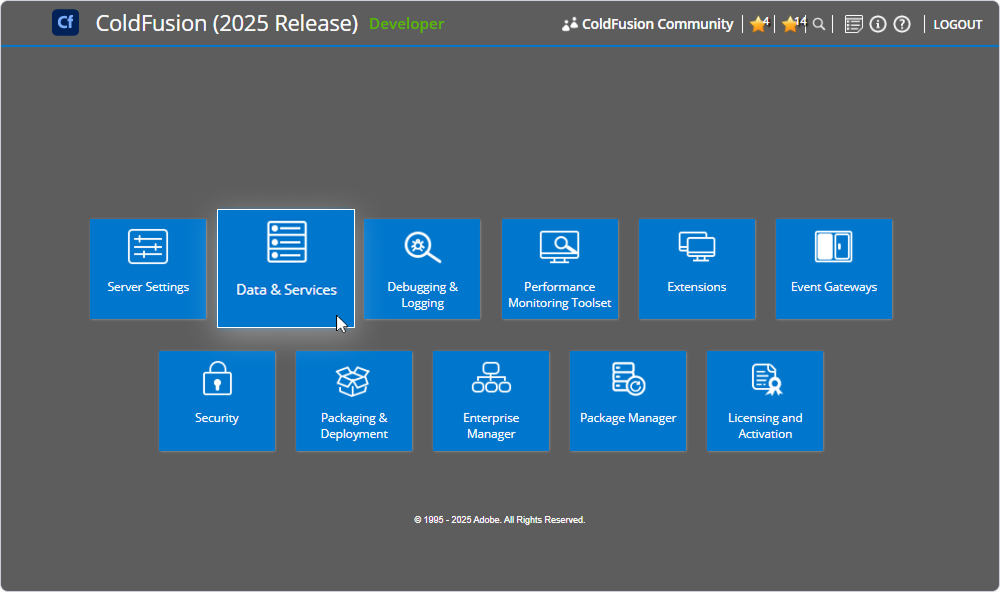
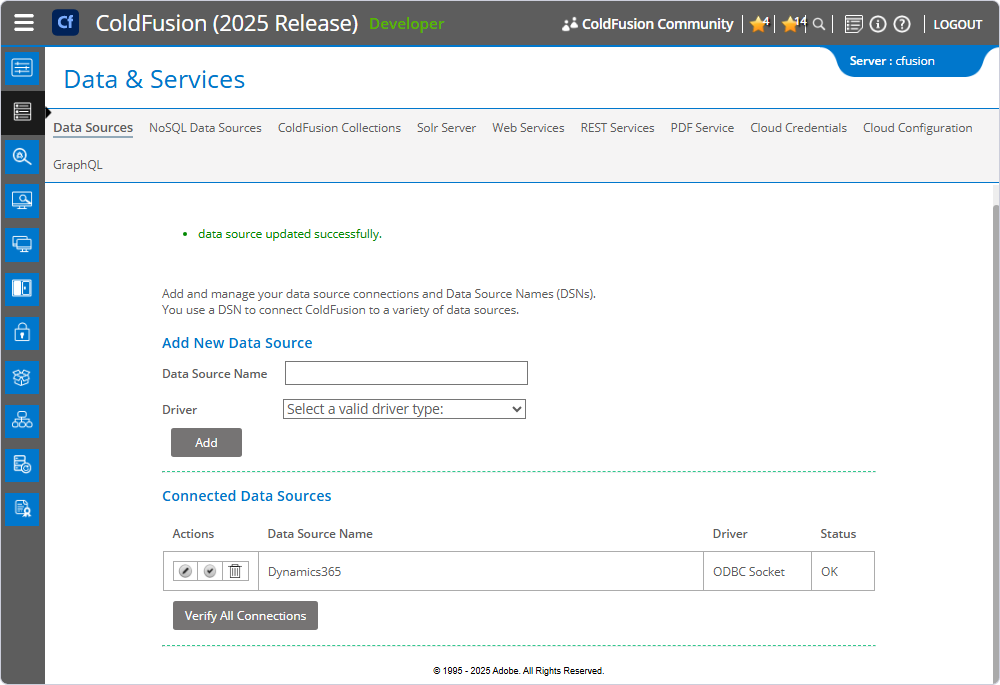
1. Open ColdFusion Administrator and navigate to Data & Services.
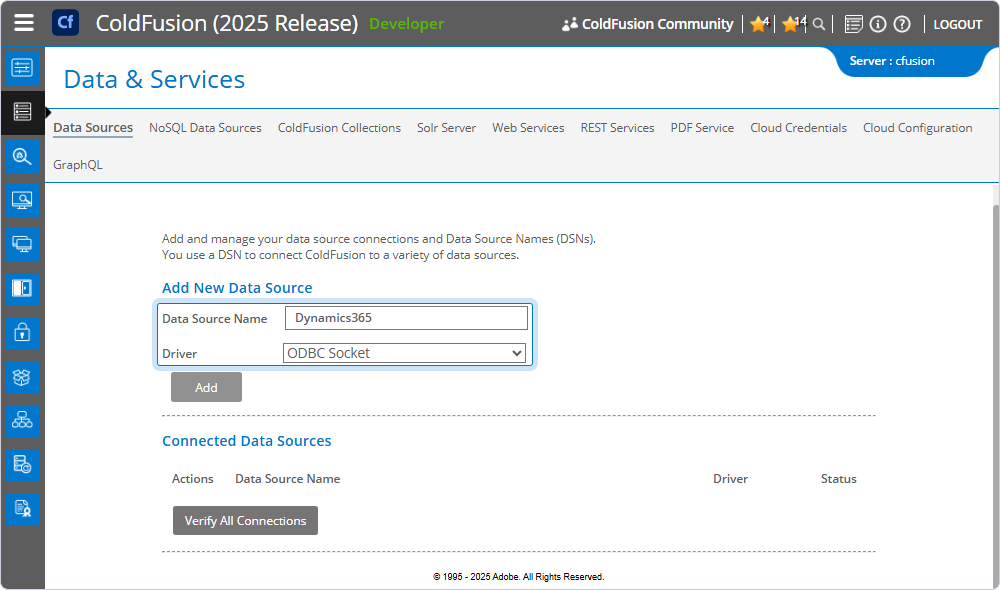
2. Under Add New Data Source, fill out the fields:
- Data Source Name – Enter a name for the data source (for example, Dynamics365).
- Driver – Select ODBC Socket.
3. Click Add.
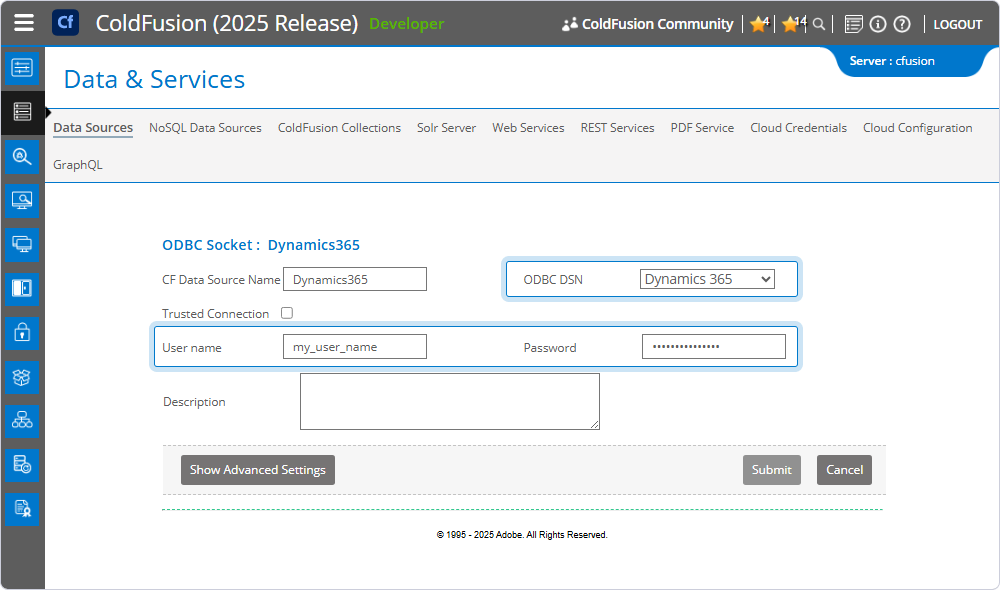
4. Under ODBC Socket, fill out the fields:
- ODBC DSN – Select the DSN you configured for Dynamics 365.
- User name – Enter your Dynamics 365 username.
- Password – Enter your Dynamics 365 password.
5. Click Submit.
ColdFusion automatically tests the connection. After the test completes, the data source appears under Connected Data Sources.
Query Dynamics 365 data
You can use ColdFusion Markup Language (CFML) tags like <cfquery> and <cfoutput> to interact with and display data from Dynamics 365. Let’s consider a basic example.
1. Create a .cfm file. In our example, it’s aaduser.cfm.
2. Add code to query and display data. Write your SQL statement inside the <cfquery> tag.
<!-- Query data -->
<cfquery name="getUsers" datasource="Dynamics365">
    SELECT * FROM aaduser
</cfquery>

<!-- Output data dynamically -->
<cfoutput>
    <table border="1" cellpadding="5" cellspacing="0">
        <thead>
            <tr>
                <!-- Loop through column names -->
                <cfloop list="#getUsers.columnList#" index="col">
                    <th>#col#</th>
                </cfloop>
            </tr>
        </thead>
        <tbody>
            <!-- Loop through rows -->
            <cfloop query="getUsers">
                <tr>
                    <cfloop list="#getUsers.columnList#" index="col">
                        <td>#evaluate("getUsers.#col#")#</td>
                    </cfloop>
                </tr>
            </cfloop>
        </tbody>
    </table>
</cfoutput>
3. Save the file in your ColdFusion web root directory (for example, cfroot/wwwroot).
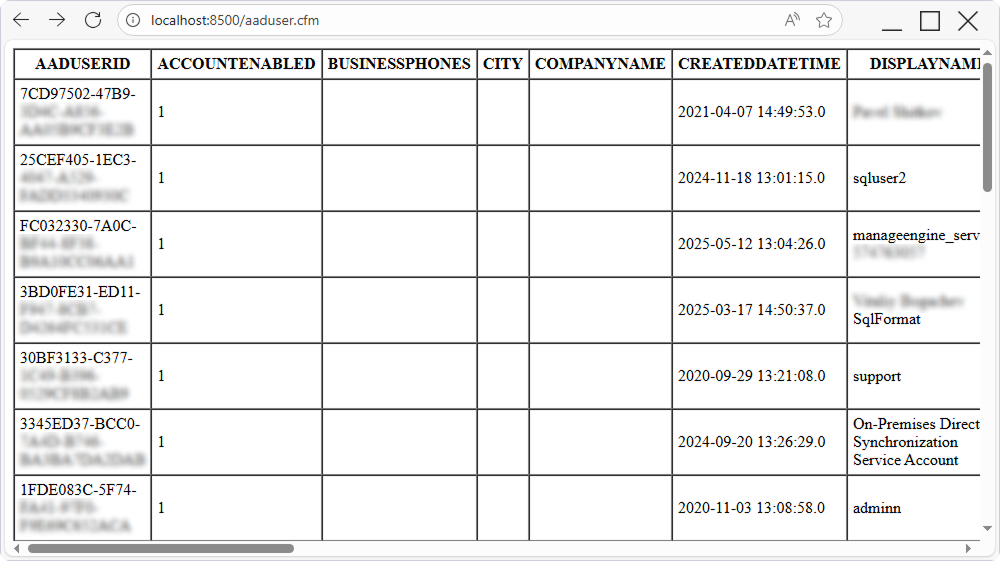
4. Access the file via browser: http://localhost:8500/aaduser.cfm.
The query results are displayed on the page.