To synchronize your model and database use Update To Database Wizard. Update to Database Wizard detects changes inside of the entities and generates scripts for updating database with applying only necessary changes and retaining data, if possible. The database does not need to be re-created. The wizard displays the tree of the changed objects and their changes, allowing you to choose which objects need to be synchronized, specify the renamed objects, etc. Even changes inside entity are detected and result in ALTER statements, the table doesn't need to be dropped and created again.
To generate the update script perform the following steps:
| 1. | To call it right click the empty space in the diagram area and choose Update Database From Model or click the Update Database From Model |
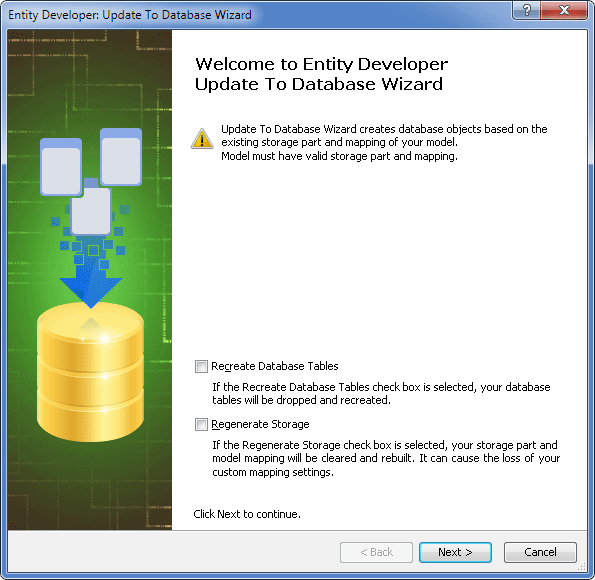
| 2. | Select the Regenerate storage check box, if necessary. |
|
Select the Regenerate Storage check box to completely regenerate the whole Model Storage part and Mapping, including the description of storage columns and ends of relations. For Entity Framework models, which have explicit difference between Conceptual and Storage parts and Mapping between them, and Storage part and Mapping are required, this feature can be very useful, because it eliminates the need to create Storage part and Mapping manually in Model-First Approach. |
| 3. | Select the Recreate Database Tables check box, if necessary, to drop the existing database tables and create them anew. |
| 4. | Click Next. |
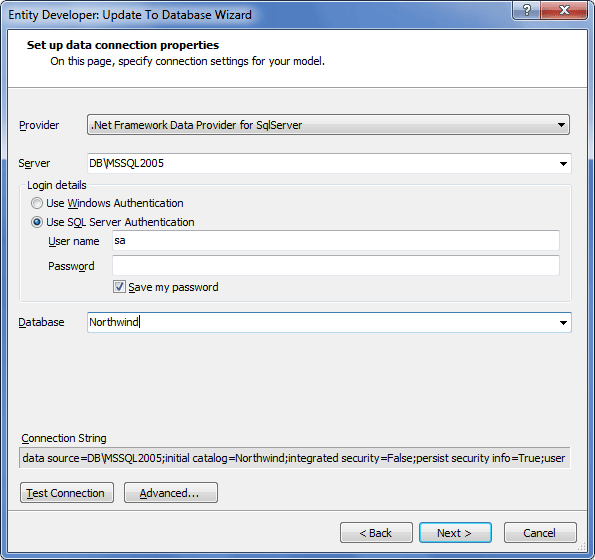
The Set up data connection properties page of the wizard is displayed.
|
This page is displayed only if the model was created within the Model First approach and no connection settings were specified. Besides, the appearance of this page may differ from the one pictured above, depending on the selected provider. |
| 5. | Set up connection parameters for your database and click Next. |
|
If the Regenerate storage check box is selected at Step 2 of this procedure, the Set up naming rules page of the wizard is displayed. But for the purpose of this tutorial, we don't select the Regenerate storage and though omit setting naming rules. |
The Choose schemas page of the wizard is displayed.
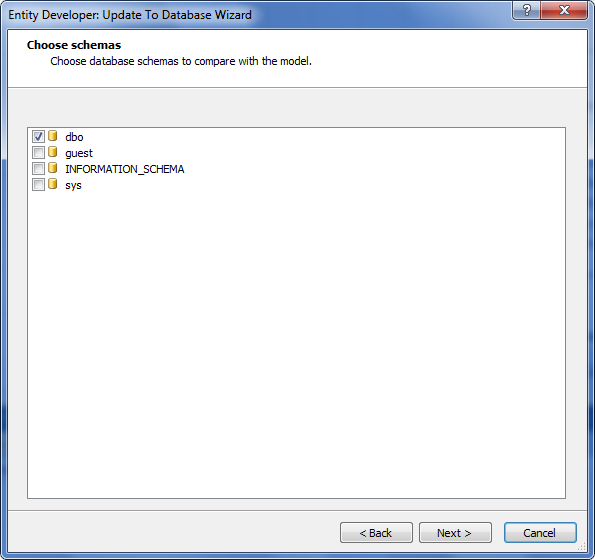
| 6. | Choose database schemas to be compared with the model and click Next. The Choose change actions page of the wizard is displayed. |
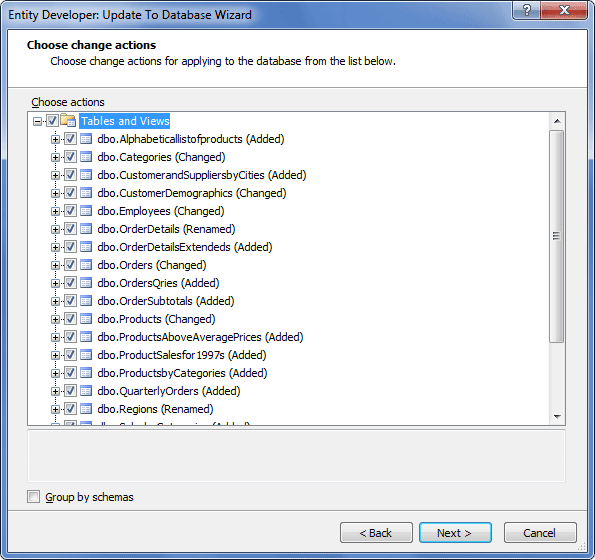
| 7. | Select the Group by schemas check box to group changed database objects by schemas, if necessary. |
| 8. | Select database objects and separate changes to be synchronized. In case you choose not to apply changes to some column or constraint, Entity Developer will 'remember' it and next time will not offer to apply changes to this object, i.e. in the Choose Actions tree the object will be deselected by default. Each node of the object tree corresponding to the database object available for update has a remark which describes action raised between this object and the corresponding model entity. The following types of actions are available: |
| a. | Added - means that this object isn't presented in the database. It will be added to the database after wizard finishing. |
| b. | Dropped - means that this object isn't presented in the model. It will be dropped from the database after wizard finishing. |
| c. | Changed - means some properties of this object differ from the corresponding database object fields. Database object field set will be changed. |
| d. | Renamed - means that objects in the database and in the model have different names. This type of changes is not always detected automatically during the process of comparison of database metadata and metadata built on the basis of the model. For the renamed objects to be detected, they must conform to certain rules. Metadata comparison is implemented in two steps. In the first step equivalents are looked for, having exactly the same number of columns and foreign keys, and the columns themselves match as well; if no equivalents are found, then similar objects are looked for according to the same rules, but columns must match only in the matter of names. If identical objects are found, similar objects will not be looked for. If objects are not detected as renamed automatically, they are displayed as a pair of dropped/created objects. You need to select such pair, right-click the selection, and choose Resolve Renamed from the popup menu to mark the objects as renamed. In order to cancel renaming, right-click the object marked as Renamed and select the Cancel Renaming option. |
Use the context menu of the root nodes to check or uncheck all added, dropped or changed objects.
| 9. | Click Next. The View and execute script page of the wizard is displayed. |
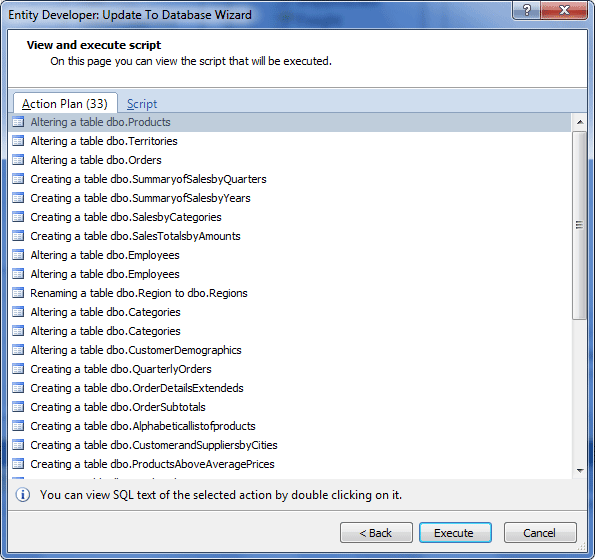
This page shows the action plan that will be implemented during the execution. You can view scripts of your statements on the Script tab of this wizard page.

| 10. | Click the Execute button to run the displayed scripts. |
| 11. | On the final page of the wizard click Finish. |
Now the database and the storage model are synchronized.