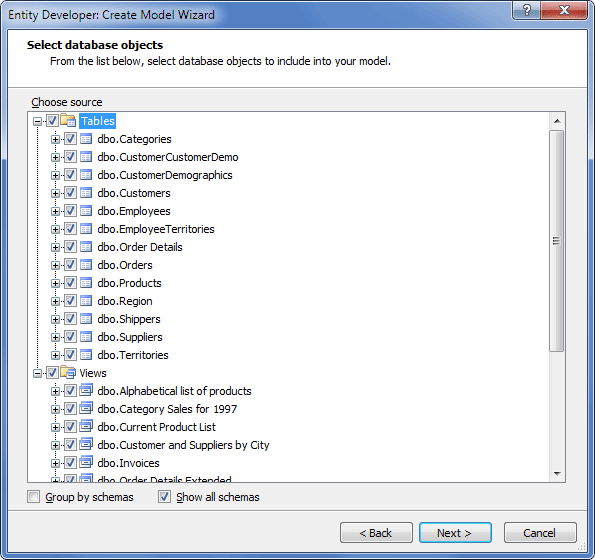
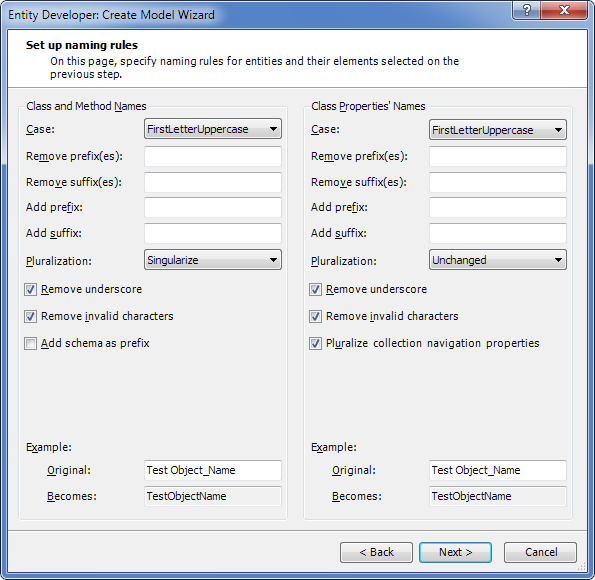
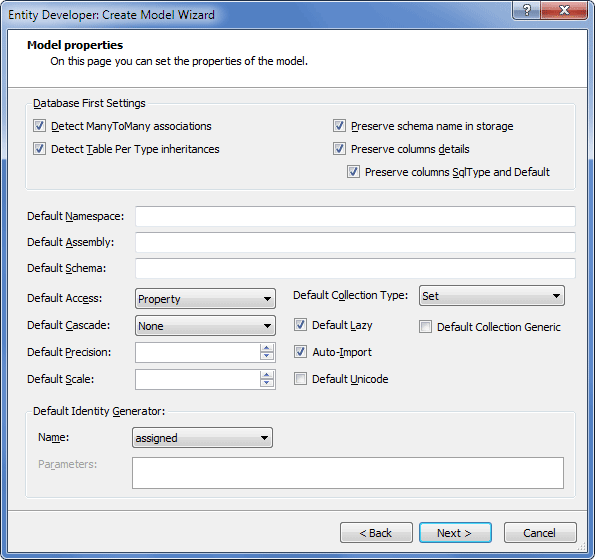
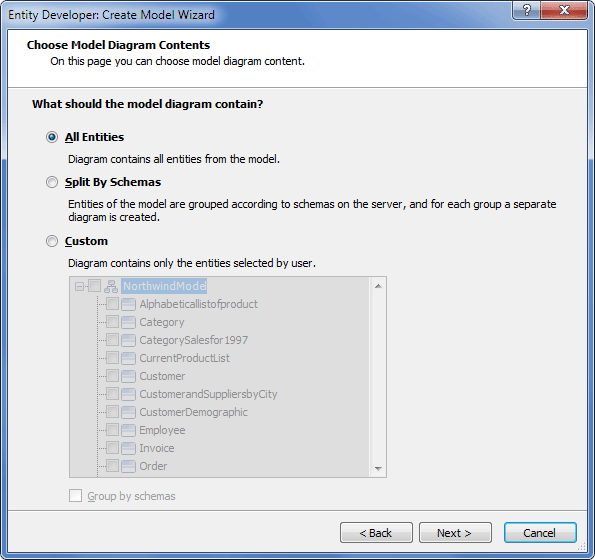
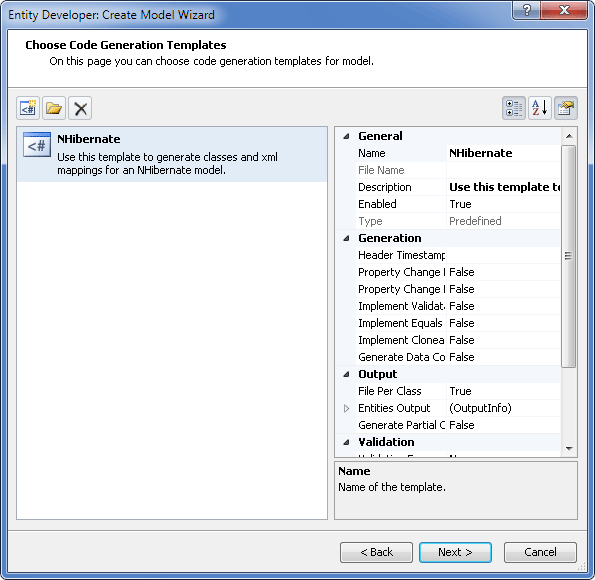
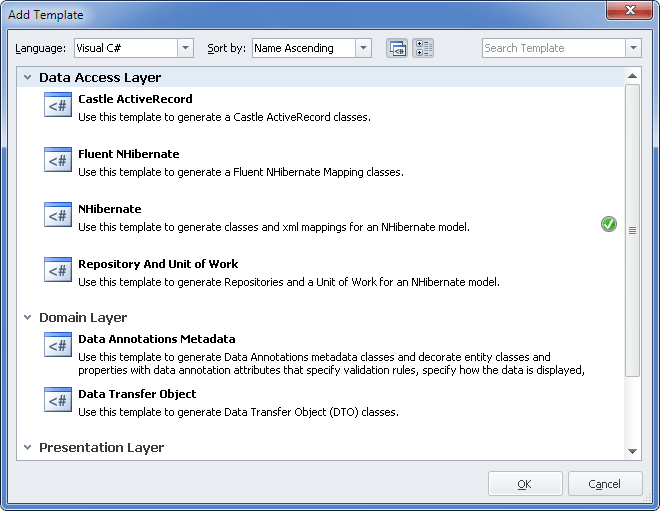
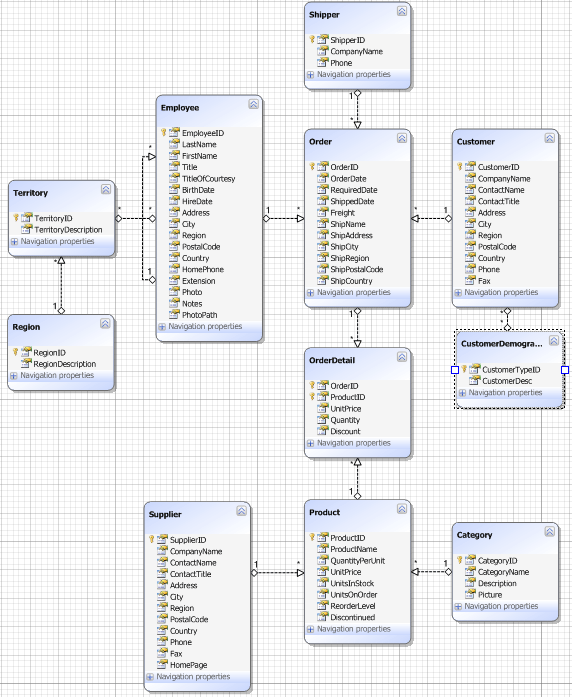
This section explains how to set up mapping and code generation in NHibernate models.
For the purpose of mapping and code generation, you may need to create and define folders, into which mapping and generated code will be saved, as well as other parameters available in the Properties window of the selected template.
The definition of output folders for mapping and code generation is optional, if such folders are of no importance for you, go directly to Step 11 of the procedure.
To define folders for mapping and code generation, perform the following sequence of actions:
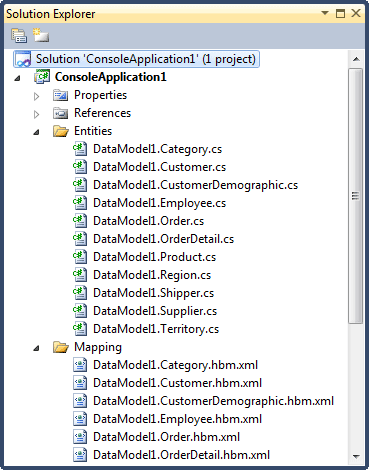
| 1. | In your project in the Solution Explorer window, create a folder for mapping (for example, Mapping) and a folder for generated code (for example, Entities). |
| 2. | Navigate to the Model Explorer window, select the template, and click to display the Properties window for the selected template. |
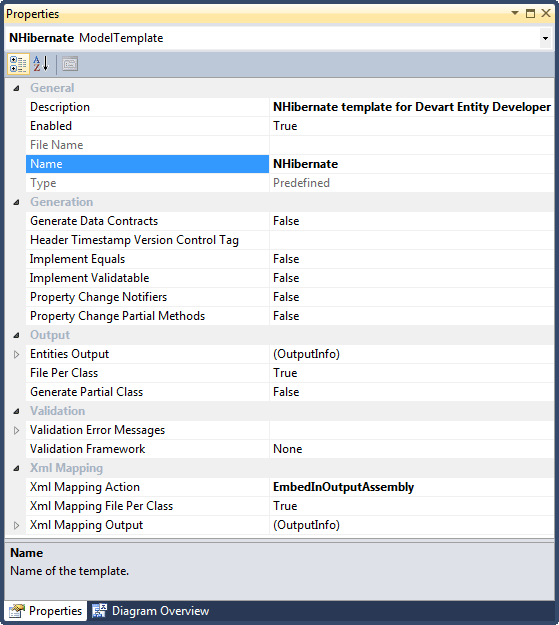
| 3. | In the Output section of the model properties, click the Entities Output line and then click the displayed three-dotted button. |
| 4. | In the Select Project Folder dialog box, select the appropriate folder for entities (for example, the Entities folder that was created in Step 1 of this procedure) and click OK. |
| 5. | Select an appropriate value for the File Per Class property: : if a value is set for the Entities Output parameter, the File Per Class parameter must be set to True. |
| 6. | To enable the entity property validation mechanism in the Validation section locate the Validation Framework row and select the appropriate framework; use the Validation Error Messages row to apply error messages stored in the application resources. For details on validation refer to Entity Property Validation. |
| 7. | In the Xml Mapping section of the template properties, select the appropriate value for the Xml Mapping Action property to define whether mapping will be copied to the folder specified in the Xml Mapping Output parameter, or to the folder storing the model file in case Xml Mapping Output parameter value is not specified, or it will be added to the project as an embedded resource. |
| 8. | To generate separate mapping files per class, set the Xml Mapping File Per Class property to True; to generate one mapping file, set this property to False. |
| 9. | Click in the Xml Mapping Output line and click the three-dotted line to open the Select Project Folder window. |
| 10. | In the Select Project Folder window, select the appropriate folder for mapping files (for example, the Mapping folder that was created in Step 1 of this procedure) and click OK. |
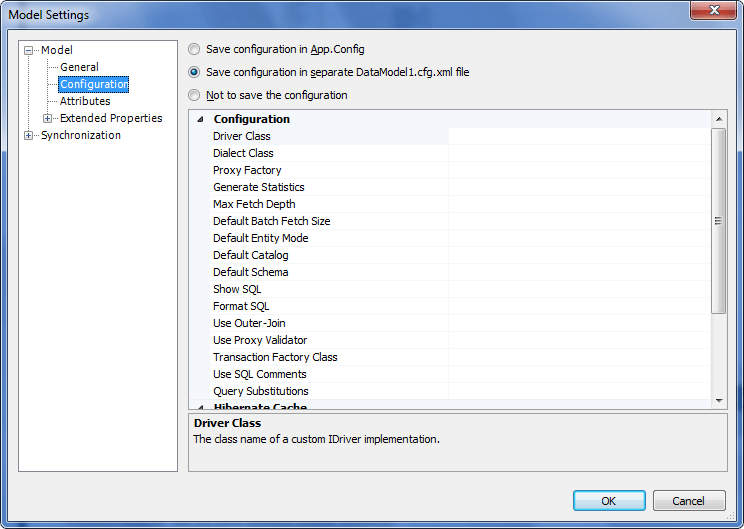
| 11. | (Optional) To specify additional parameters for your application (app.config) or web-application (web.config), for example, to change the Proxy Factory setting, right-click the diagram, select the Model Settings menu item from the shortcut menu and in the tree area select Configuration. |
|
|
On mapping and code generation, the NHibernate library is added to the configuration of your application, provided that this library is available from the Global Assembly Collection. If this library is stored elsewhere, in the Solution Explorer window, right-click Reference, select the Add reference command from the shortcut menu and follow the on-screen instructions to add the library to the configuration of your application.
|
| 12. | To generate code and mapping, save the model. Entities and mapping files are successfully generated and stored in the specified folders: |
This completes the procedure for creating a model from the existing database.
|
 Prerequisites
 Creating a Model from the Existing Database
 Mapping and Code Generation Setup