Complex types are descriptions of sets of properties included in or added to a complex type. Complex types enable the use of the following two types of column mapping: default mapping and custom mapping.
The sub-sections below contain descriptions of these two methods.
 Default mapping
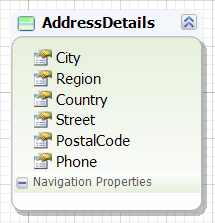
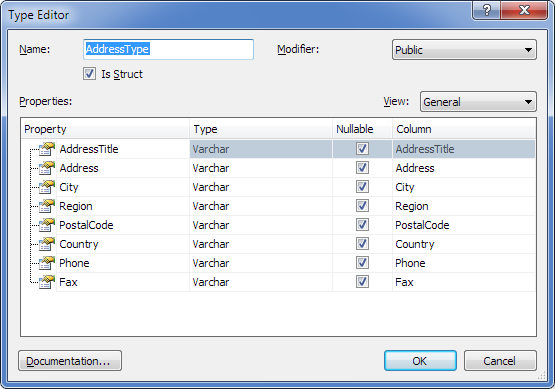
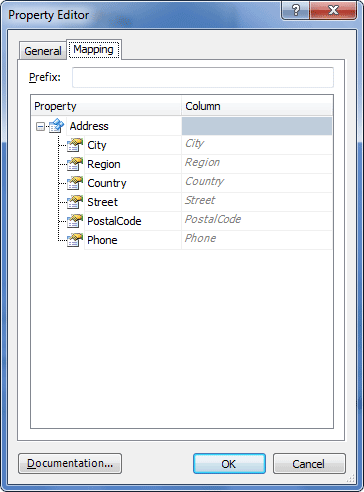
Default mapping is set for every property participating in a complex type through the Property Editor dialog. There are two main ways of action in the process of defining default mapping. You can either leave the column settings suggested by the application in accordance with the values defined in the model settings, or specify different settings for each column in the Property Editor dialog. To enter a different setting value, double-click the property you want to edit within the complex type and specify the required setting in the displayed Property Editor dialog. Regardless of the fact whether you change the settings of columns in default mapping or not, these settings will be used in all classes, into which this complex type is included as a property. For the purpose of example, suppose that we have a complex type called AddressDetails consisting of the following properties: Default mapping can be set in the Type Editor dialog box. For AddressDetails complex type properties, we can specify mapping of these properties to database table columns or leave the column name suggested by the application in accordance with the naming rules as defined in the model settings. This mapping will be used for all classes containing properties of the complex type (property with type set to 'AddressDetails'), unless custom mapping will be specified within these classes. Suppose we have a class called Company and we want to add the Address complex type property to it. For this, we right-click the Company class either in the Model Explorer window, or on the diagram area and in the context menu select Add submenu, and then select New Property. In the Property Editor dialog box we specify the name of the new property in the Name field, then we switch to the Type drop-down list, expand the Complex Types node and select the existing AddressDetails complex type. After this, we switch to the Mapping tab:
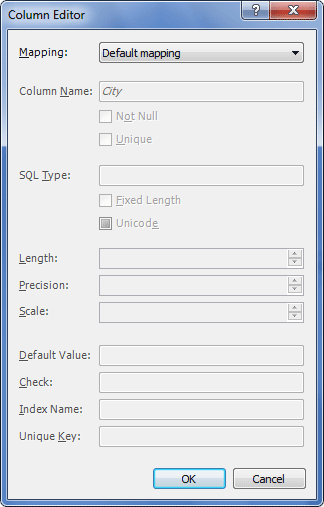
In this dialog box we select any column name in the grid and click the three-dotted button. The Column Editor dialog box is displayed indicating in the Mapping drop-down list, that the mapping currently applied is Default Mapping:
Here you can select Custom mapping in the Mapping list and customize not only column names, but also other attributes like SQL Type, Precision, Length, etc. In case table column settings differ from the settings defined in the default mapping, then custom mapping should be applied. |
Custom Mapping
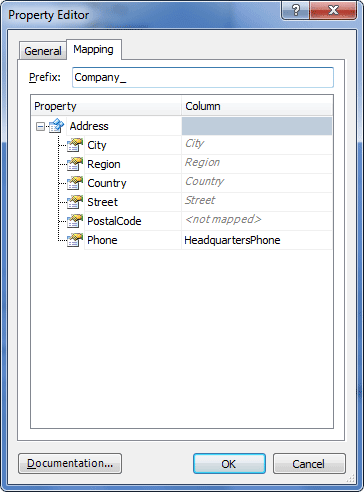
Custom mapping allows specifying custom column names for property mapping. Additionally, custom mapping allows specifying a prefix to be added to all complex type properties as well as to exclude one or more properties from being mapped. Suppose that for some reason in the Company class it is necessary to do the following three things:
To exclude the PostalCode property from being mapped, click in this property's line, click the three-dotted button and select No mapping from the Mapping drop-down list of the Column Editor dialog. To change the name of the column, to which the Phone property is to be mapped, enter the new name in the property's line on the Mapping tab of the Property Editor dialog. If it is necessary to specify additional parameters for custom mapping, click the three-dotted button in the same line and go on editing in the Column Editor dialog. And, finally, to add a prefix to all columns, to which these component type properties of the class will be mapped, enter the required prefix into the Prefix box of the Property Editor dialog. As a result, the following screen demonstrates default, custom and no mapping:
|