|
|
Installation |
|
|
|
Installation |
|
This part of the tutorial will describe the EntityDAC installation process.
To start the installation, run the downloaded installer, for example:
The installer file name may differ for different editions:
where XX - the current version of EntityDAC.
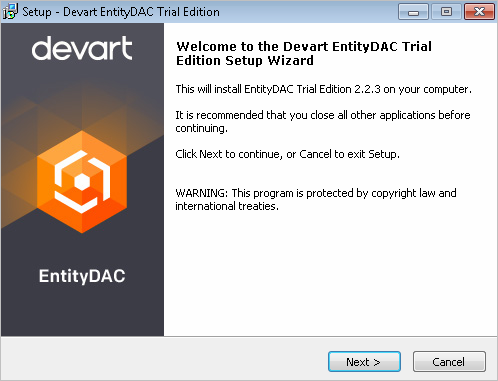
First wizard page informs us about the edition and version of the product being installed.
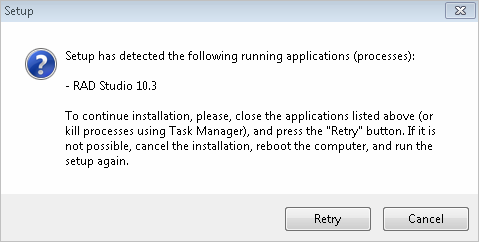
Note, that any using IDE has to be closed before starting the installation. Otherwise, the following error message will be displayed. In this case, you should close all running IDE and click the "Retry" button.
In some cases, after using RAD Studio help, the Microsoft Document Explorer process remains running even after IDE is closed. In this case, you should kill the "dexplore.exe" process manually using Task Manager. After doing this, click the "Retry" button in the setup dialog.

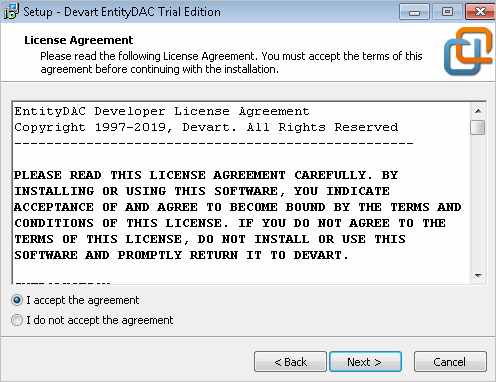
In the next wizard page, you should read and accept the license agreement.
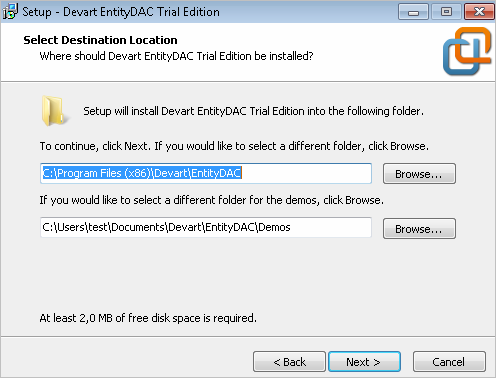
Next, you should specify the folder in which the product will be installed. By default, the folder is "Program Files\Devart\EntityDAC". Also, you can specify a folder for the EntityDAC demos.
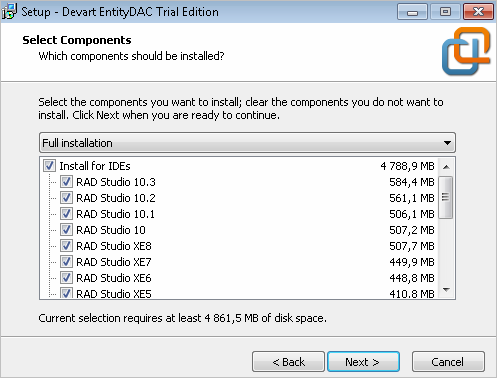
The next step is the component selection. You can select for which RAD Studio versions the product will be installed. Also, you can specify, if there is need to install Entity Developer for EntityDAC, demo projects and help files. By default, all these products will be installed automatically.
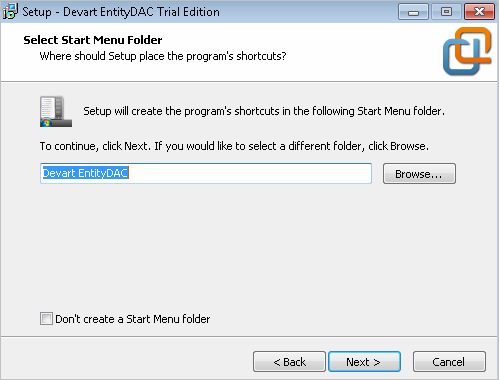
Then, you will be prompted to choose the Start Menu folder name for the installed product. By default, the name is "Devart EntityDAC".
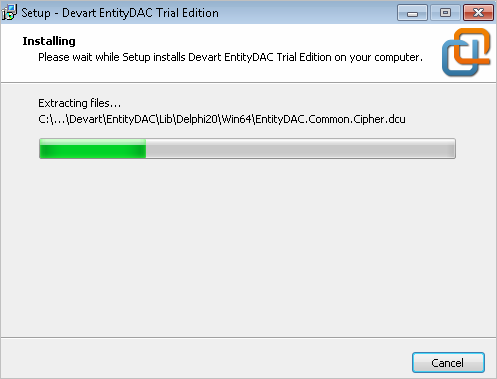
After the confirmation page, the installation process will be started.
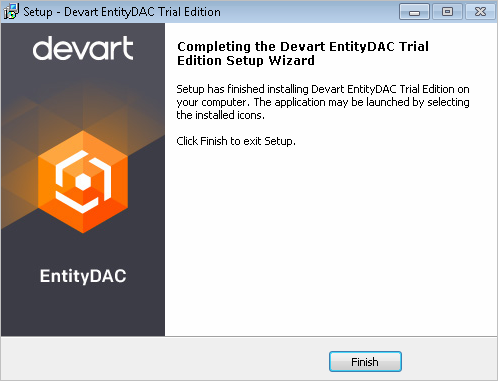
And finally, click the "Finish" button to end the installation.