How to install and run dbForge Edge on macOS with Parallels Desktop
This step-by-step guide shows how to install and run dbForge Edge on macOS using Parallels Desktop, a solution that helps create and manage a Windows environment on your Mac.
There are no specific prerequisites for this operation other than making sure that your database server is up and running.
Steps to install and run dbForge Edge on macOS using Parallels Desktop
- Step 1: Install Parallels Desktop on macOS
- Step 2: Run Windows 11 on macOS using Parallels Desktop
- Step 3: Install and configure dbForge Edge in Parallels Desktop
- Step 4: Run dbForge Edge and connect to a database
Step 1: Install Parallels Desktop on macOS
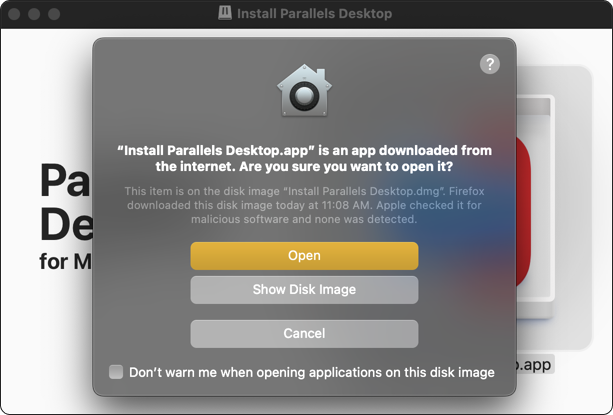
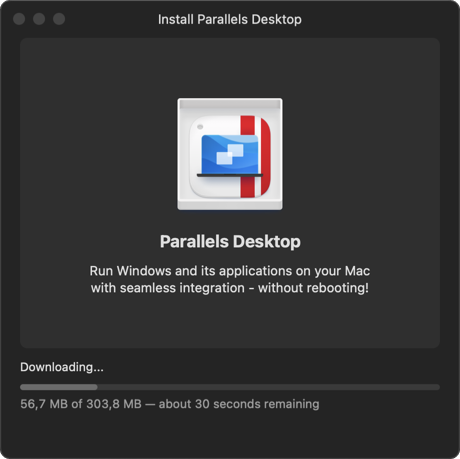
1. Go to the download page on the Parallels website and click Download Parallels Desktop. Next, open the downloaded DMG file and double-click the Install Parallels Desktop icon.

2. Click Open.
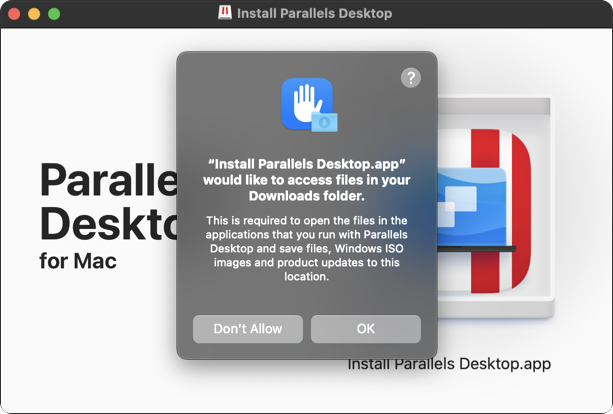
3. Allow access to the Downloads folder by clicking OK.
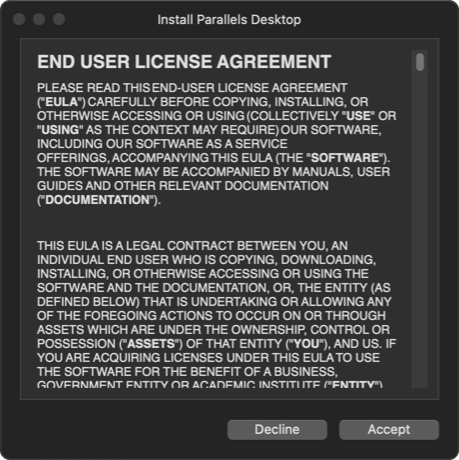
4. Review and accept the End User License Agreement by clicking Accept.
5. The installation commences.
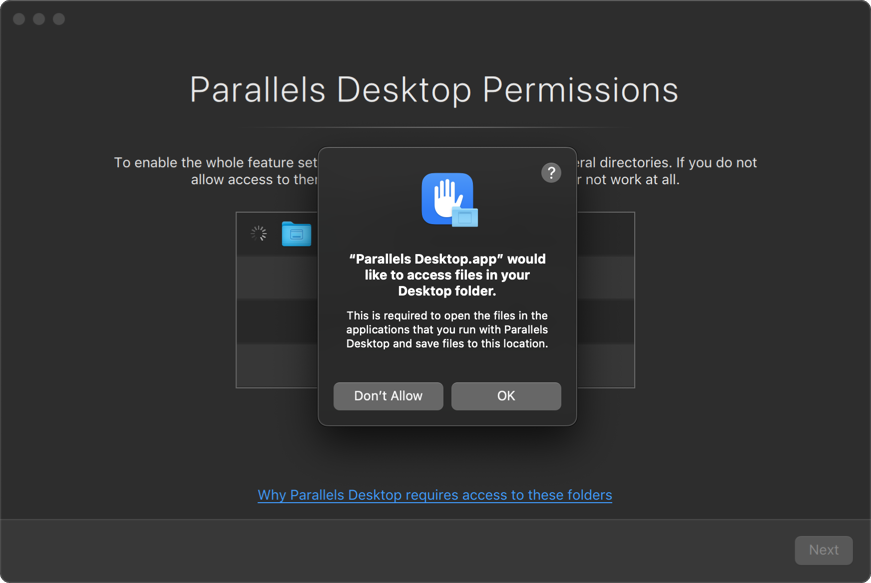
6. Allow Parallels Desktop to access a few directories on your Mac where it will store related files.

7. Click OK to confirm access to each required directory.
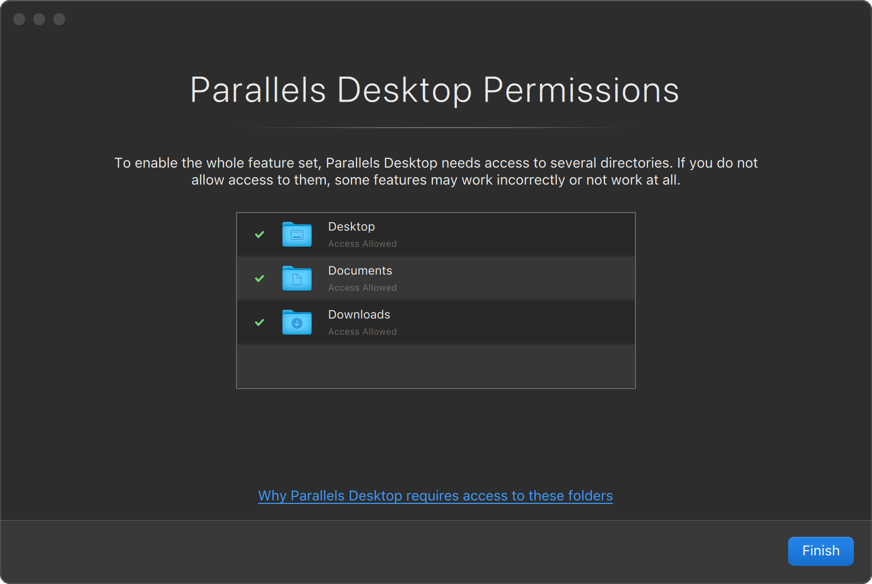
8. Now, with all access allowed, you can click Finish.
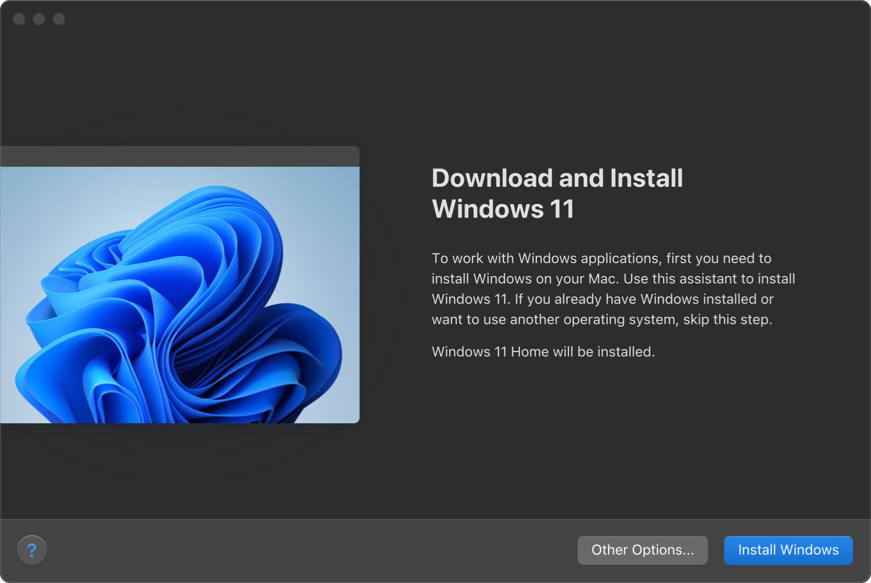
Afterwards, you will be immediately prompted to download and install Windows 11.
Step 2: Run Windows 11 on macOS using Parallels Desktop
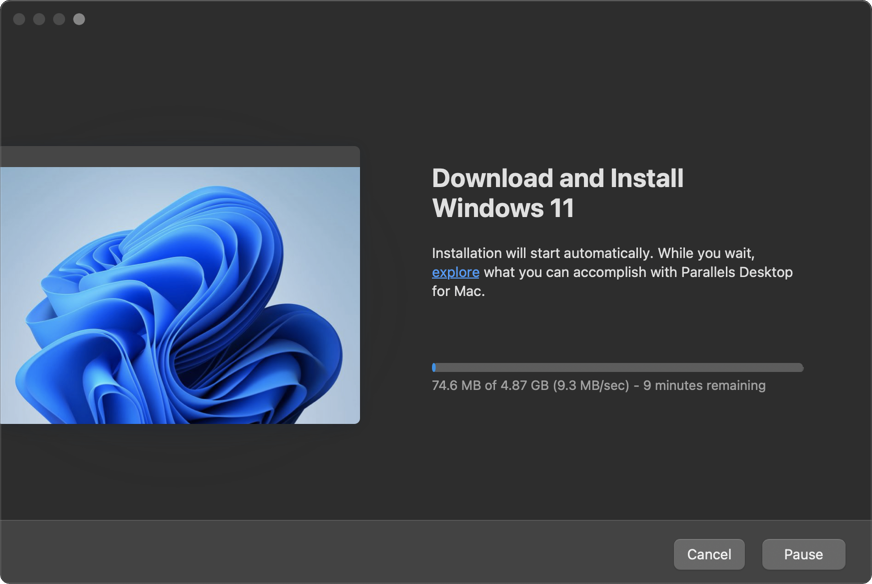
1. Click Install Windows.
2. The installation commences.
3. Click OK to allow access to the camera and microphone.
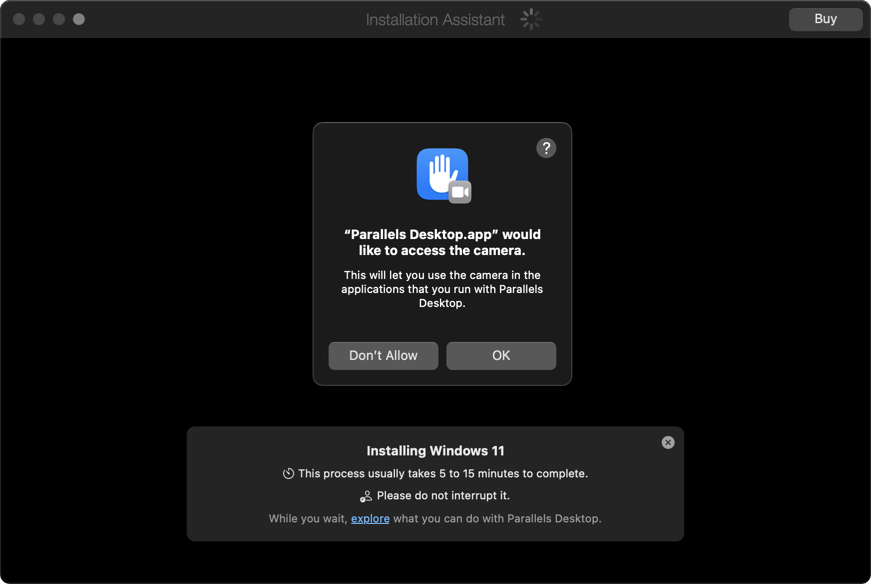
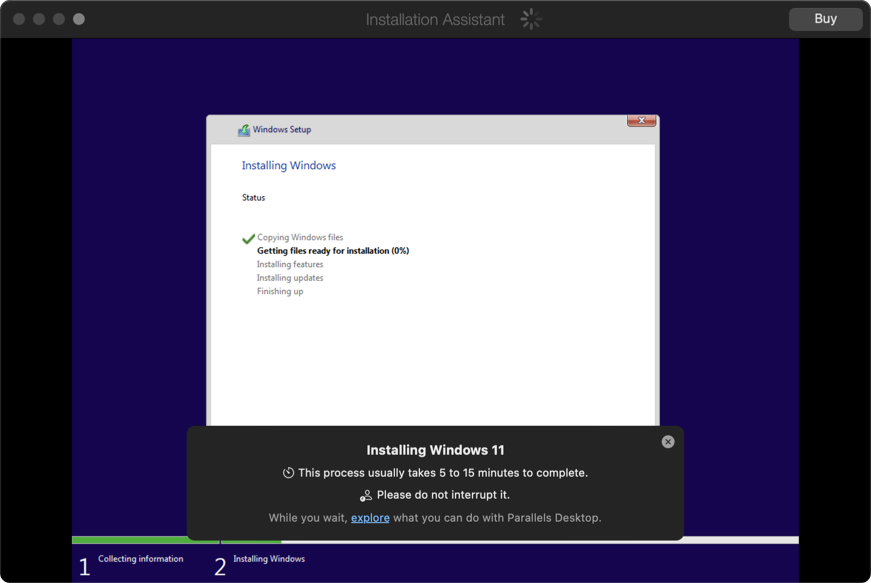
4. The installation proceeds.
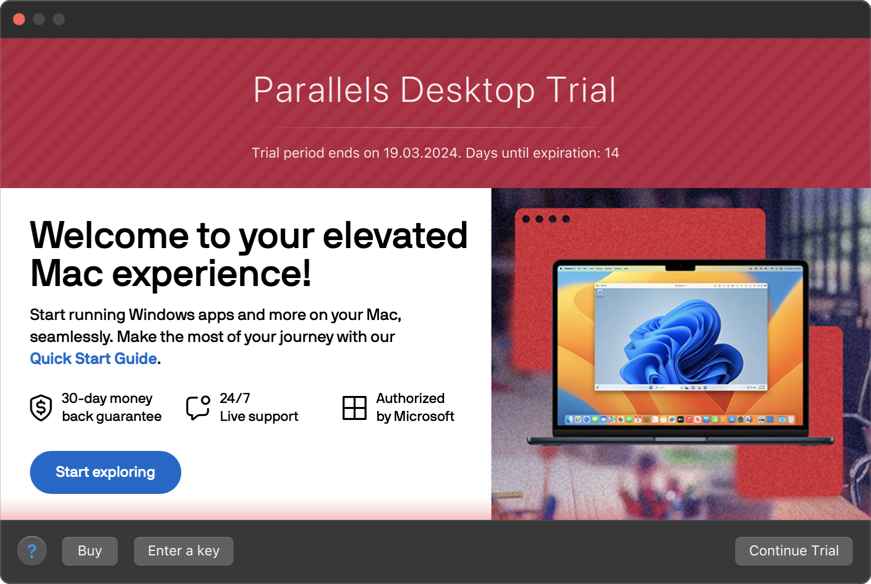
5. At one point, you will be prompted to buy or activate a Parallels Desktop license. If you don’t have one, click Continue Trial.
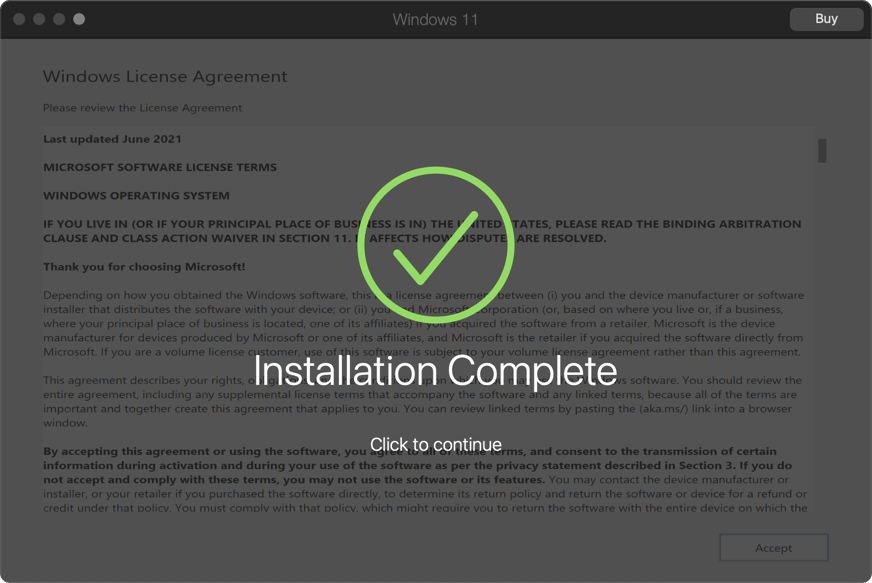
6. You will be notified that the installation of Windows 11 has been successfully completed. Click to continue.
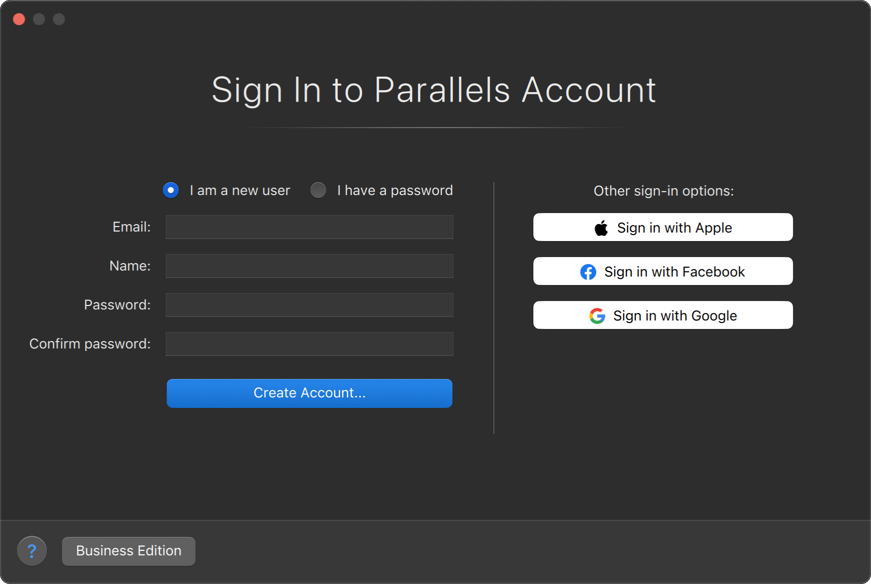
7. After a click, you will be asked to sign in to your Parallels account. If you don’t have one, click Create Account and complete the operation.
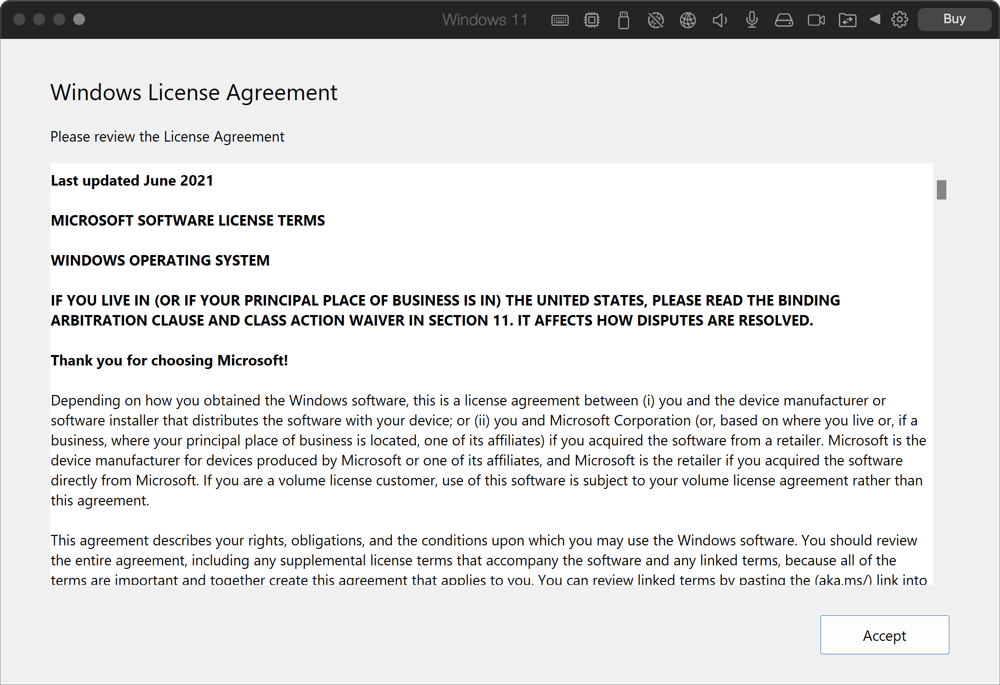
8. Afterwards, you will be greeted with the Windows License Agreement. Review it and click Accept.
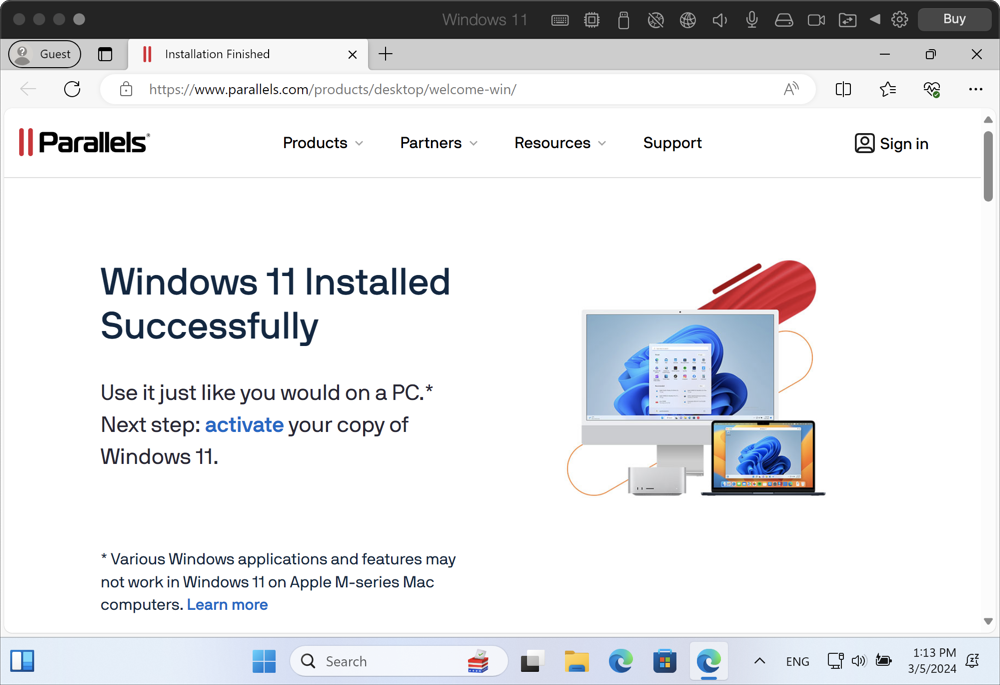
9. Once Windows 11 is installed, you will be able to install dbForge Edge.
Step 3: Install and configure dbForge Edge in Parallels Desktop
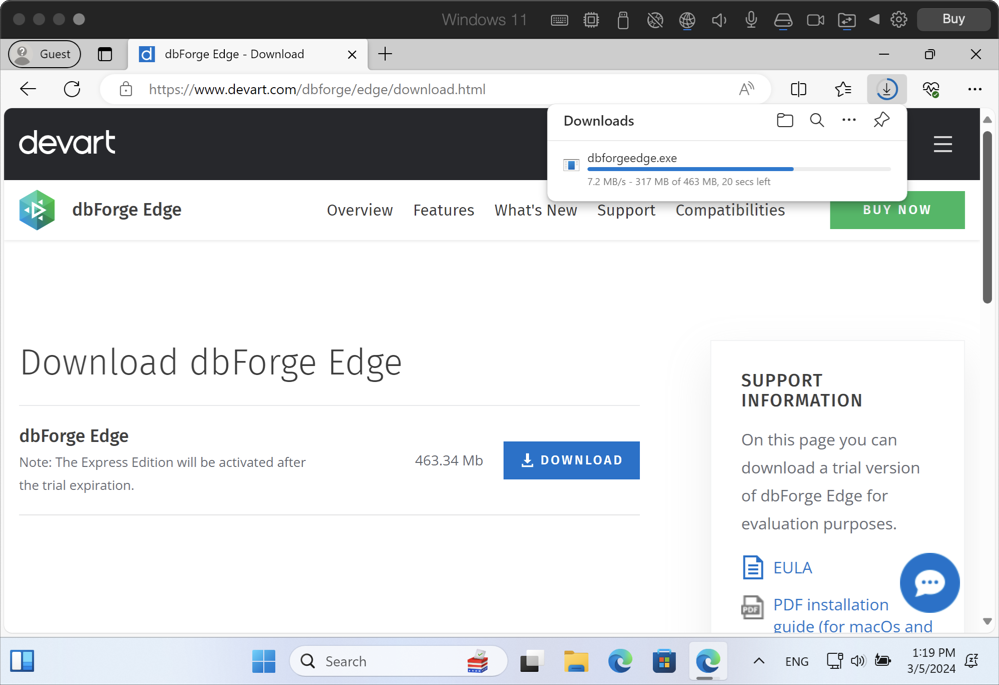
1. Inside Parallels Desktop, go to the download page of dbForge Edge and download the installer file.
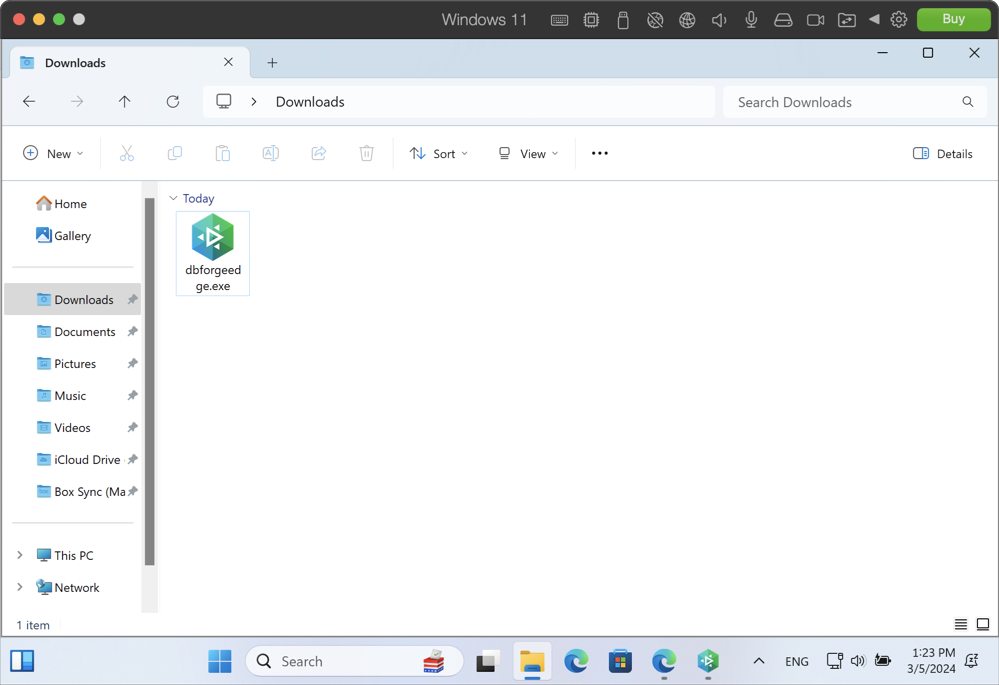
2. Find the downloaded installer file and open it.
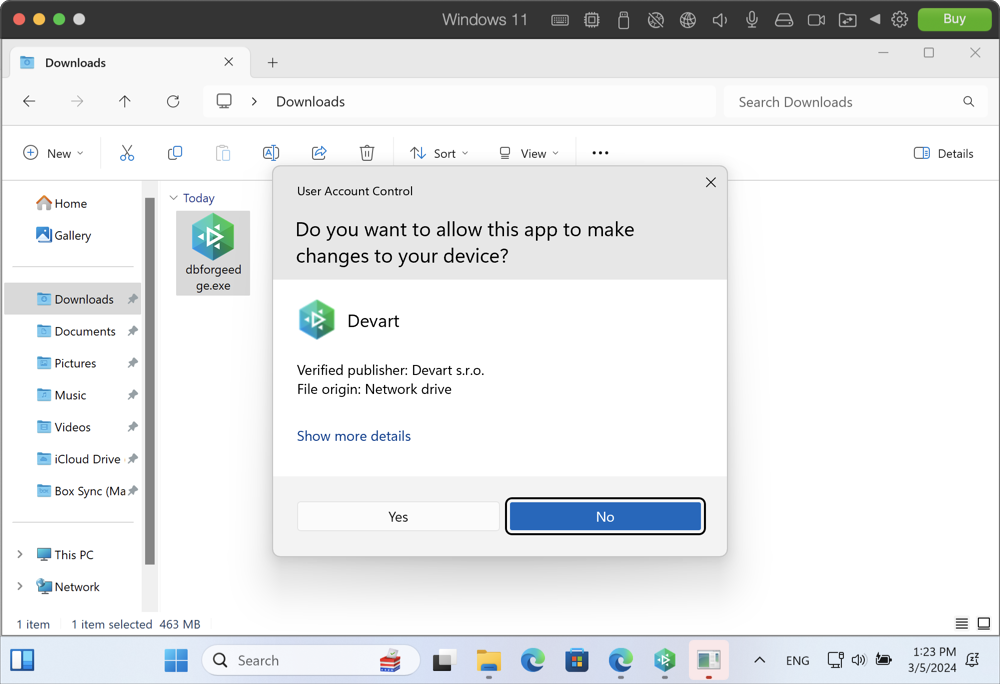
3. Start the installation by clicking Yes.
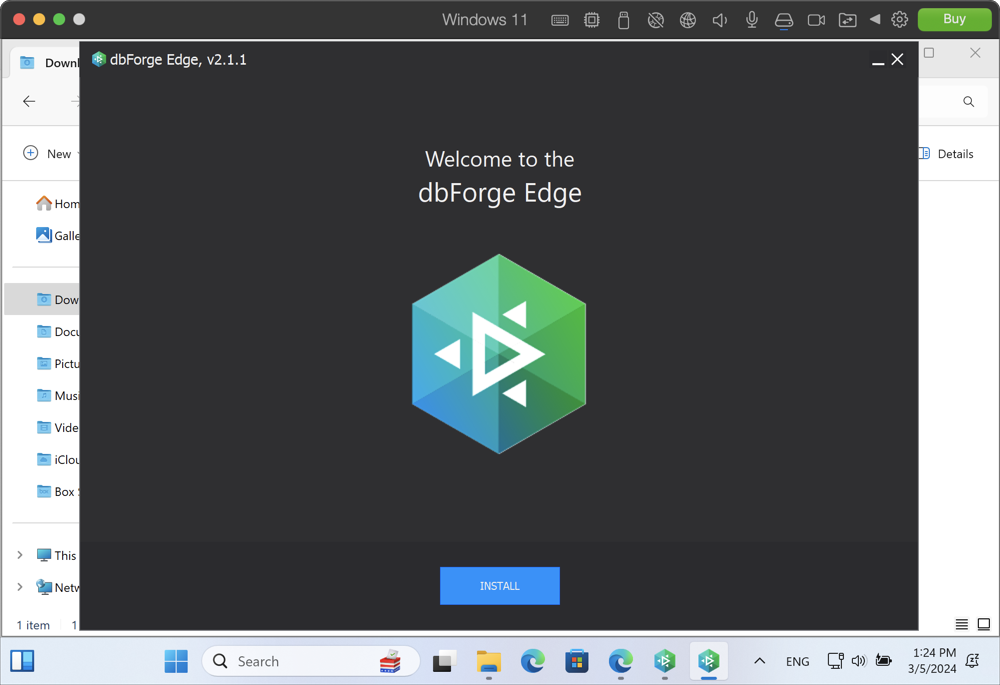
4. You will be greeted by the installation wizard. Click Install.
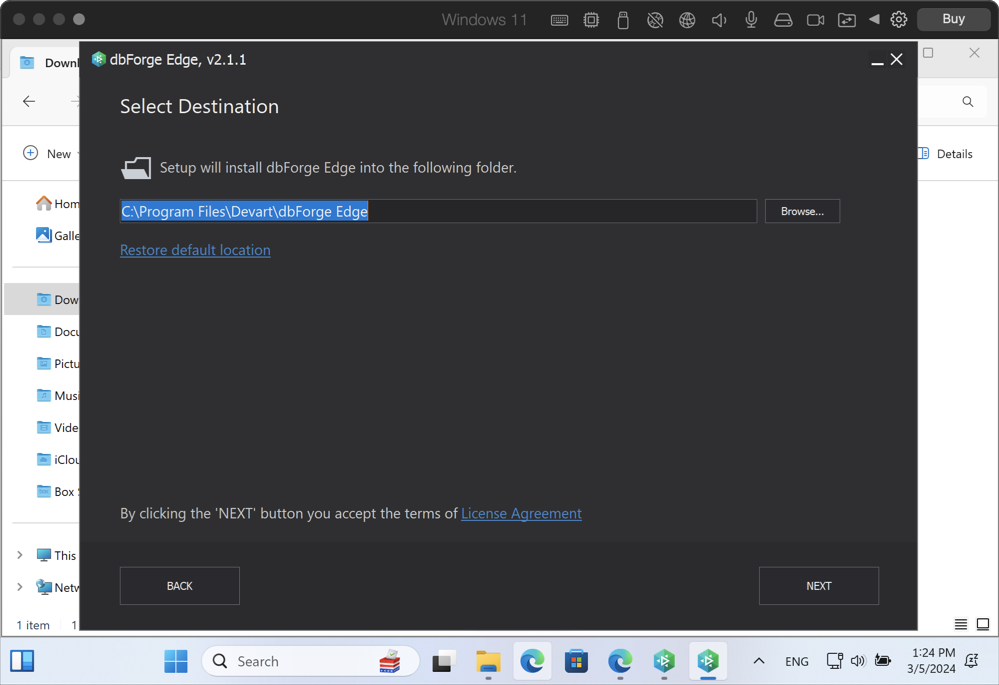
5. On the Select Destination page, pick a folder that dbForge Edge will be installed into and click Next.
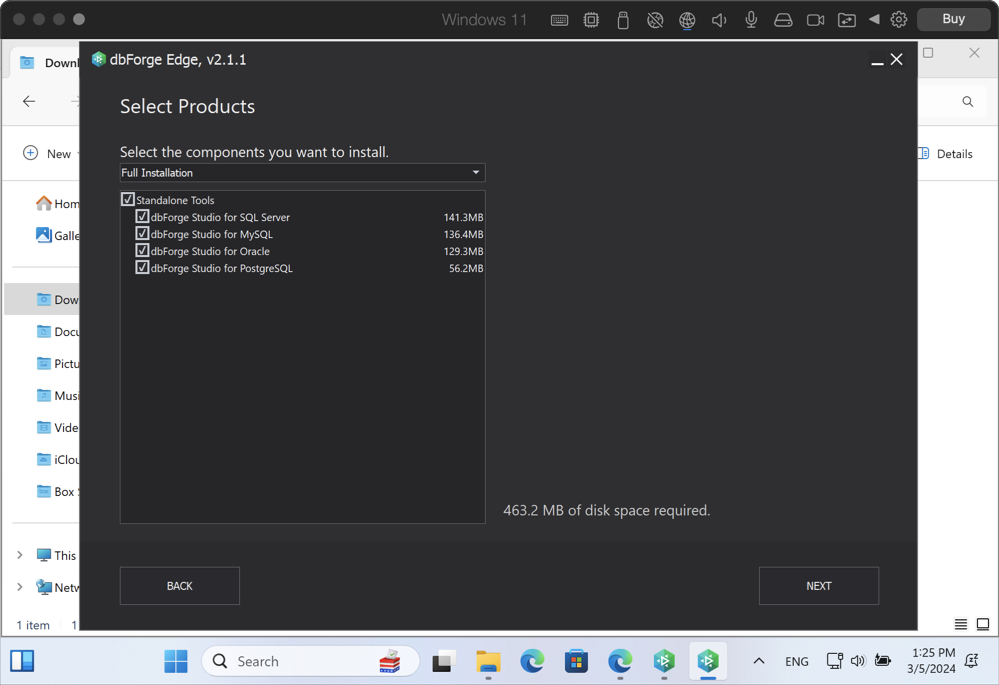
6. On the Select Products page, pick the required Studios to be installed and click Next.
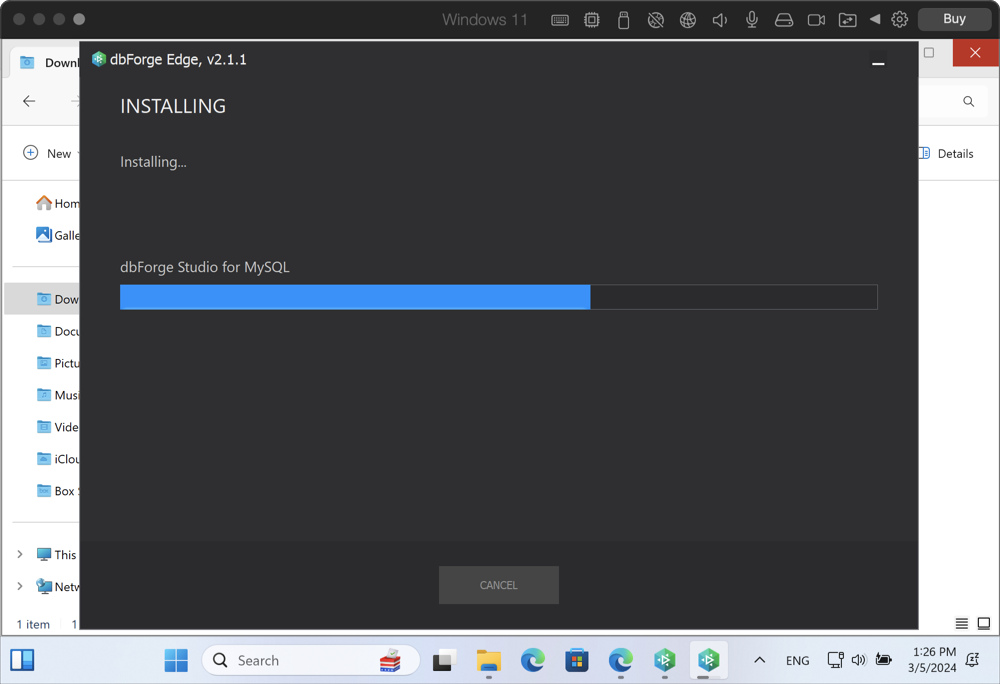
7. The installation commences.
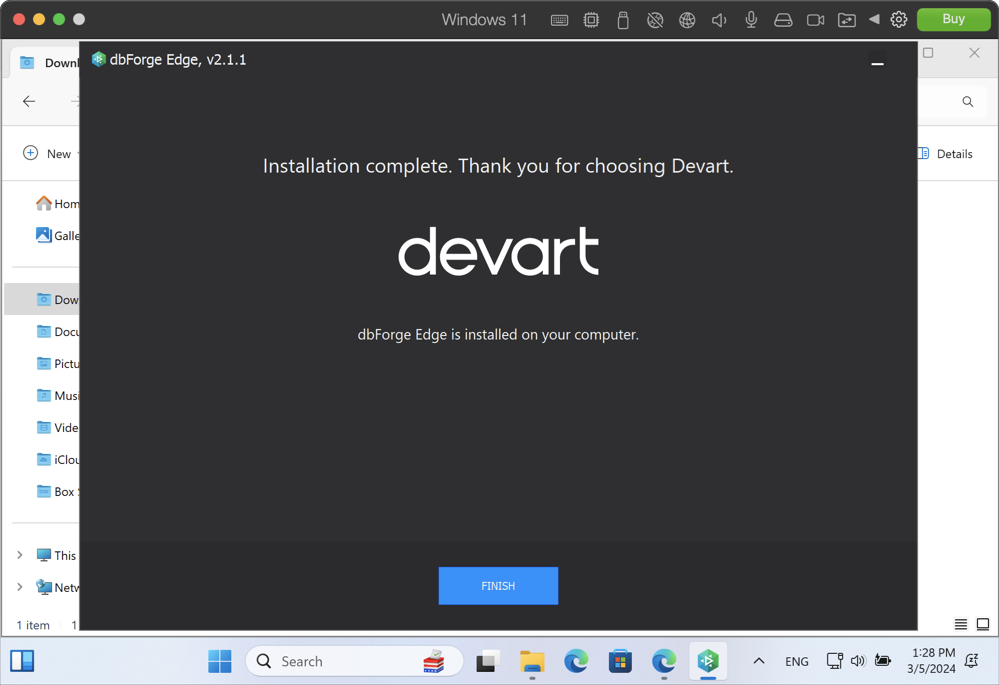
8. When the installation is completed, click Finish.
Now you can run the newly installed Studios in Parallels Desktop.
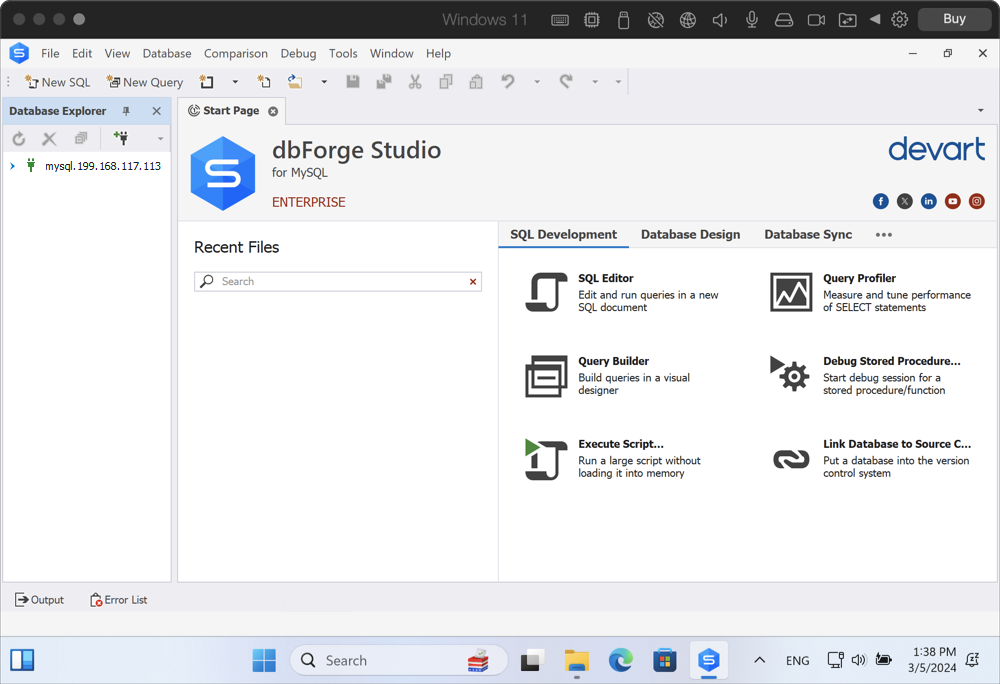
Step 4: Run dbForge Edge and connect to a database
1. In Parallels Desktop, open a newly installed Studio. In our case, it will be dbForge Studio for MySQL. After it opens, it offers to establish a connection using the Database Connection Properties dialog. Enter the credentials.
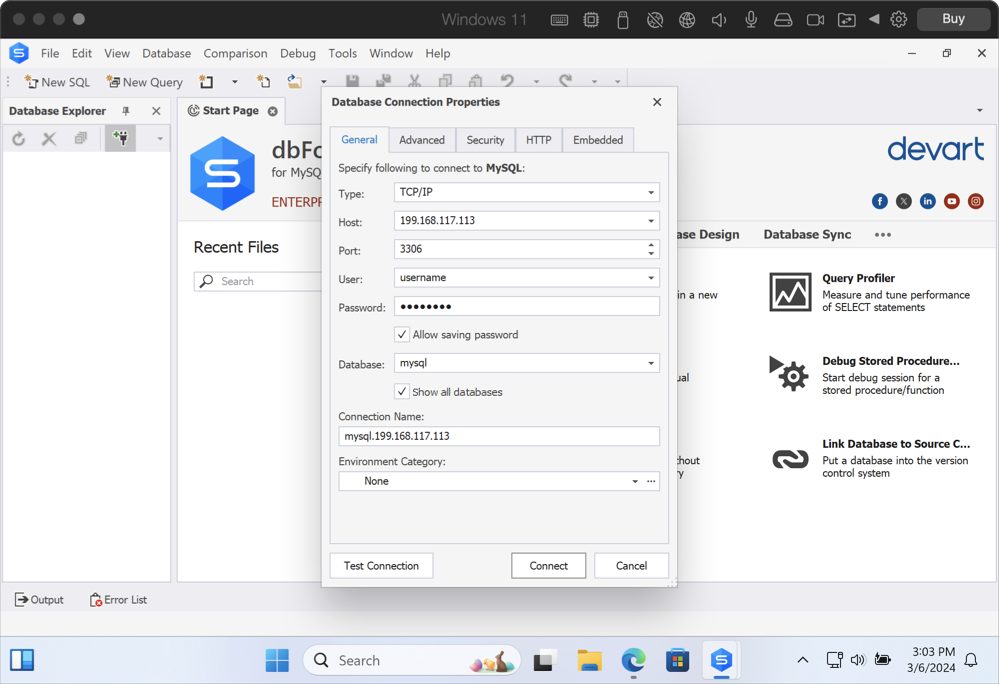
Note
You can open the Database Connection Properties dialog at any moment from the Database menu > New Connection.
2. Optional: Click Test Connection to make sure you have entered everything correctly.
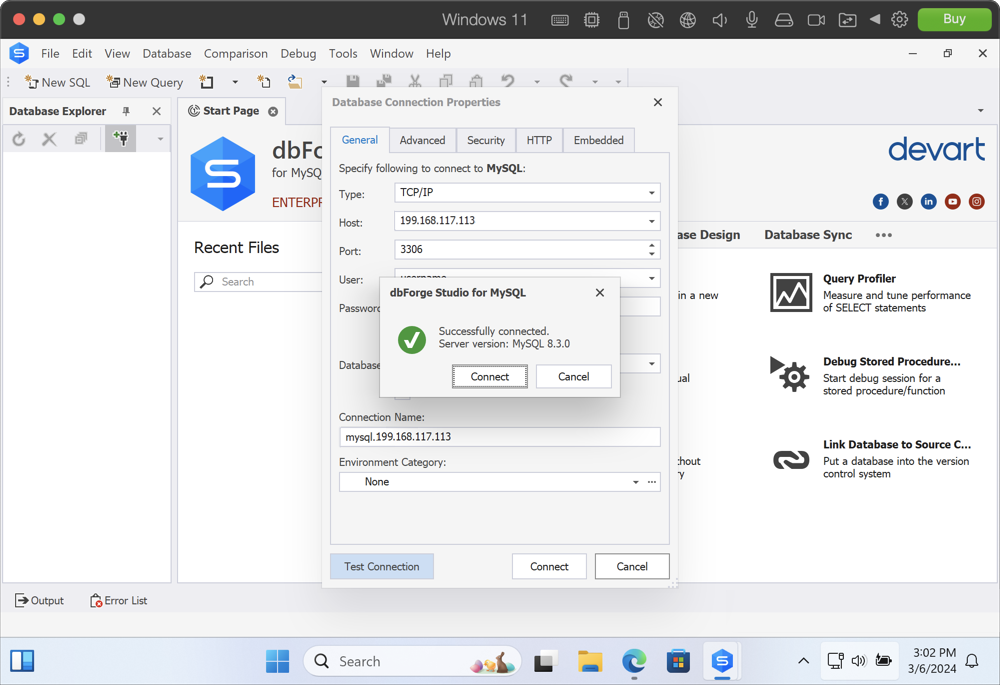
3. Click Connect to proceed to the Studio’s Start Page, where the key functionality is divided into several tabs. Now you can start your work.