This tutorial describes how to create a simple Integration Services package that imports a table from a SQLite database to SQL Server for further operations such as analysis or reporting.
In this walkthrough:
- Introducing Integration Services
- Requirements
- Creating the Integration Services Project
- Running the Wizard to Create the Basic Package
- Creating a SQLite Connection in the IDE
- Fine-tuning Type Mapping
- Additional Information
Introducing Integration Services
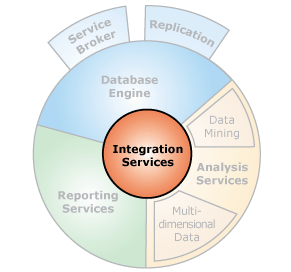
Microsoft Integration Services is a platform for building enterprise-level data integration and data transformations solutions. You use Integration Services to solve complex business problems by copying or downloading files, updating data warehouses, mining data, and so on.
Integration Services can extract and transform data from a wide variety of sources such as XML data files, flat files, and relational data sources, and then load the data into one or more destinations. dotConnect for SQLite enables Integration Services to export and import data to/from SQLite databases.
Requirements
The tutorial requires SQL Server 2008, 2012, 2014, or 2016 installed on the computer. In order to connect to SQLite database you need the server itself running, dotConnect for SQLite installed and Business Intelligence Development Studio running. Note that Business Intelligence Solutions support is only available in Professional Edition of dotConnect for SQLite.
Creating the Integration Services Project
-
On the Start menu, point to All Programs, point to Microsoft SQL Server, and click SQL Server Business Intelligence Development Studio.
-
On the File menu, point to New, and click Project to create a new Integration Services project.
-
In the New Project dialog box, select Integration Services Project in the Templates pane.
-
Click OK.

Running the Wizard to Create the Basic Package
-
In Project menu, click the SSIS Export and Import Wizard item.
-
On the Welcome page of the SQL Server Import and Export Wizard, click Next.
-
On the Choose a Data Source page, select Devart dotConnect for SQLite as Data source and provide connection settings for your server, click Next. If the connection settings are incorrect, the wizard shows a warning and does not advance to the next step.

-
On the Choose Destination page, provide connection settings for your SQL Server instance:

-
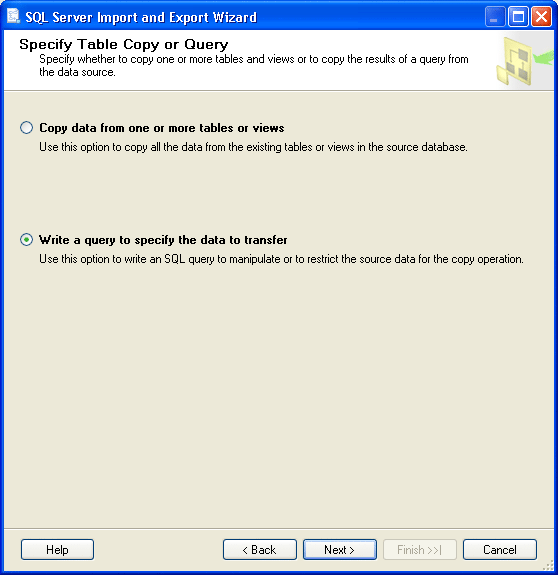
On the Specify Table Copy or Query page, click Write a query to specify the data to transfer. The other option, Copy data from one or more tables or views, allows you to transfer several database objects at once, but for the purpose of this tutorial we will demonstrate flexibility of queries used in the wizard. Click Next.
-
On the Provide a Source Query page, in the SQL statement box, type or copy the following SQL statement:
SELECT
  "CompanyName",
  "FirstName",
  "LastName",
  "MobilePhone"
FROM
  "Company", "Person Contact"
WHERE
  "Person Contact"."CompanyID" = "Company"."CompanyID"
This query is based on tables from the CRM Demo sample project shipped with dotConnect for SQLite. You can use any query you find suitable.
Click Next.
-
On the Select Source Tables and Views page, click [dbo].[Query], and then change the table name, Query, to Companies. Optionally, you can edit column metadata and table options. To do it, click Edit Mappings.
-
On the the next page the wizard informs you about type conversion status and possible problems. You can safely ignore warnings about missing files, if any. Click Next.
-
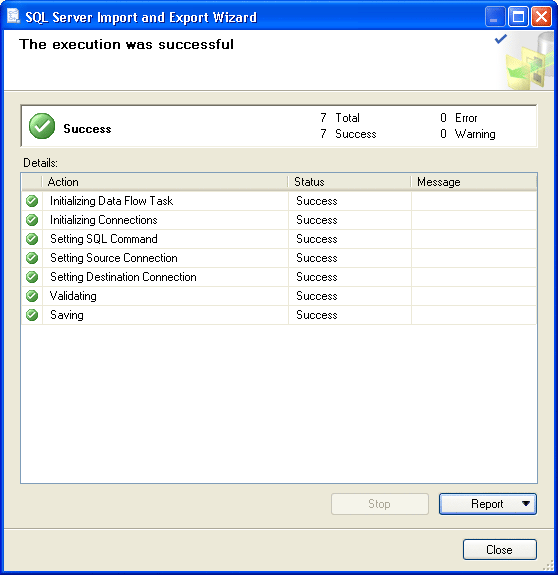
On the final screen, view the actions that the wizard performs. When finished, the Status column for each action should display "Success".
-
Click Close.
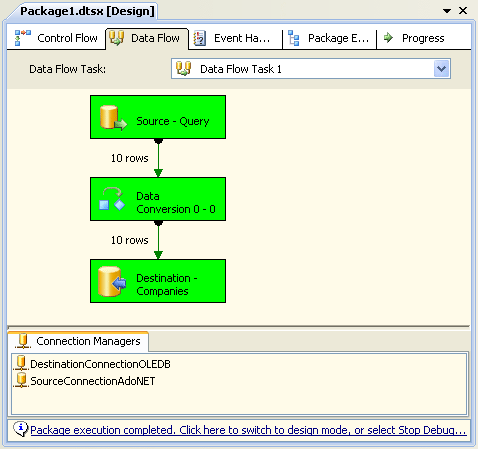
This creates a new package named Package.dtsx. Now you can save it and run to test the functionality of the package. Once executed in Business Intelligence Development Studio, the package should look as follows:
The wizard can be launched as a standalone tool from the Start menu: Microsoft SQL Server 2008 | Import and Export Data (or Microsoft SQL Server 2012 | Import and Export Data). In this case the wizard includes additional steps that allow you to run the package immediately or save it.
Creating a SQLite Connection in the IDE
You can also create a SQLite connection in the Connection Managers pane of Business Intelligence Development Studio. This allows you to use SQLite connectivity in the packages when editing them. To create a new SQLite connection follow these steps:
-
Right-click in the Connection Managers pane, choose New ADO.NET Connection.
-
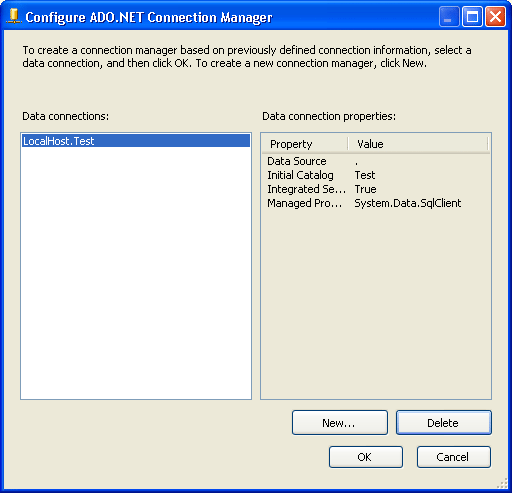
In the Configure ADO.NET Connection Manager dialog, click New....
-
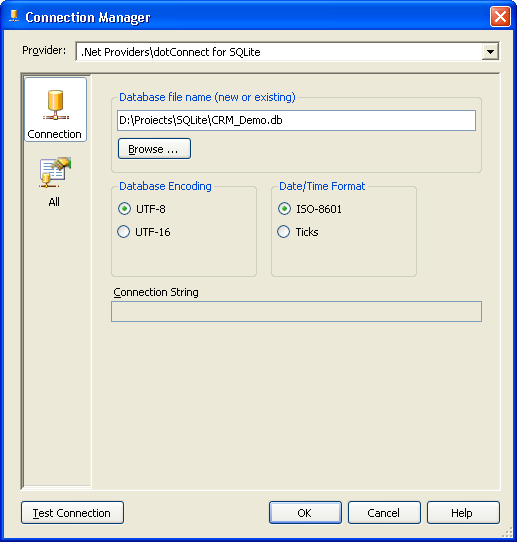
Click on the Provider list, choose dotConnect for SQLite, click OK.
-
In the Connection Parameters group, provide the connection settings. If you need some advanced settings of dotConnect for SQLite, click the All button to the left.
-
Click OK.
-
Make sure that the line with your User Id is selected in the Data connections list and click OK.
-
Notice the new item in the Connection Managers pane.
Fine-Tuning Type Mapping
dotConnect for SQLite is seamlessly integrated with SQL Server 2008/2012 Business Intelligence Solutions, and most of the connectivity options are available in design time. One issue that might require attention is type mapping between SQLite, SQL Server, and Integration Services. dotConnect for SQLite initially configures type mapping with reasonable defaults, so in most cases no adjustments are required. Should you need to change the default type mapping, you can do it in the following files:
- SQLiteToMSSql10.xml
- SQLiteToSSIS10.xml
- MSSQLToSQLite.xml
- SSISToSQLite.xml
The default location of these files is
\Program Files\Microsoft SQL Server\100\DTS\MappingFiles\
Additional Information
SQL Server Business Intelligence Solutions is a platform well documented by Microsoft, so you might find some useful information in MSDN: