
dotConnect for MongoDB Documentation
This section provides detailed instructions for installing dotConnect for MongoDB. It covers the standard installation via the Setup Wizard, NuGet package installation, and command-line installation, including silent and very silent modes.
You can install dotConnect for MongoDB using NuGet using either the Package Manager Console or NuGet Package Manager.
1. In Visual Studio, select the project where you want to install the package.
2. On the menu bar, select Tools > NuGet Package Manager > Package Manager Console.
3. In the Package Manager Console, execute the following command:
License Key connection string parameter, even for a trial version. To start a free 30-day trial, obtain your trial activation key. To use a purchased license, find your activation key in the email from Devart or on the Customer Portal. For more information, see Activation.
1. In Visual Studio, select the project where you want to install the Devart.Data.MongoDB package.
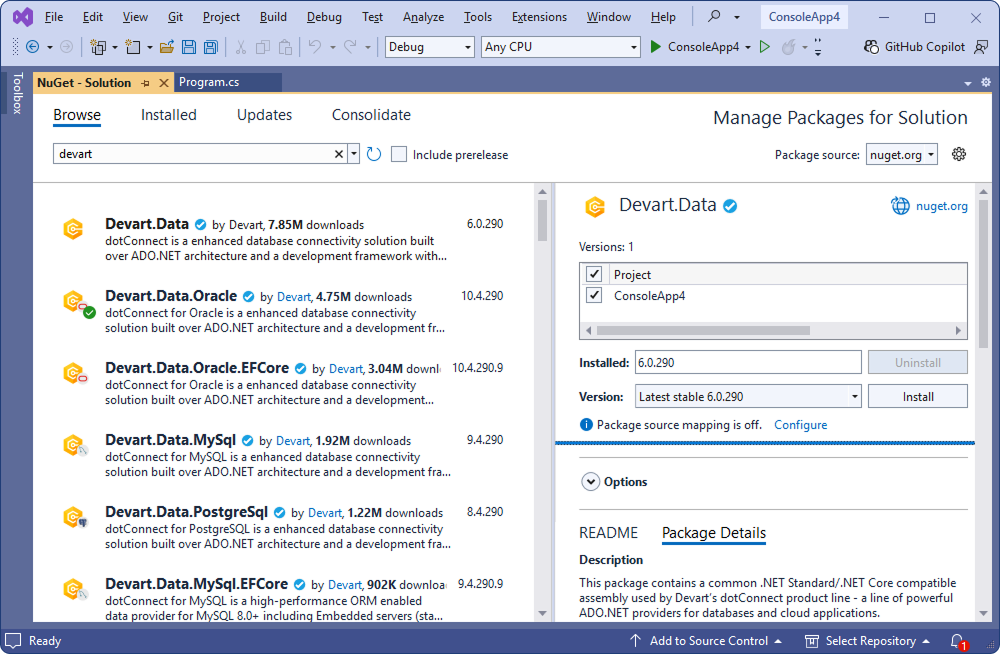
2. On the menu bar, select Tools > NuGet Package Manager > Manage NuGet Packages for Solutions.
3. On the Browse tab, choose the package and select your project. Then click Install.
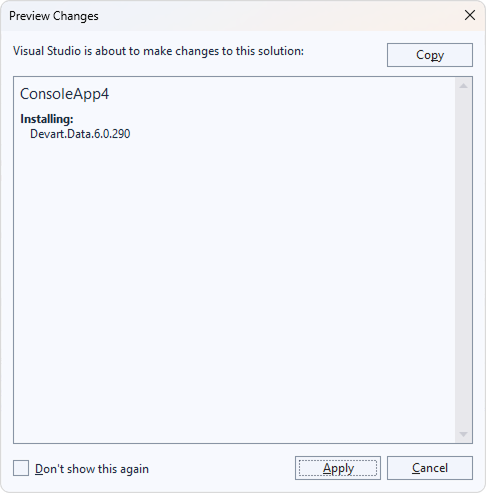
4. In the Preview Changes dialog that opens, review the modifications that will be applied to your project after the package installation. Click Apply.
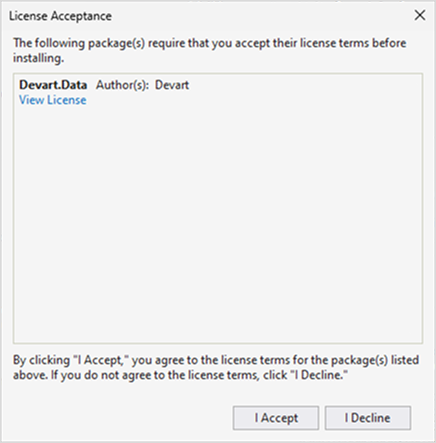
5. Read and accept the license agreement.
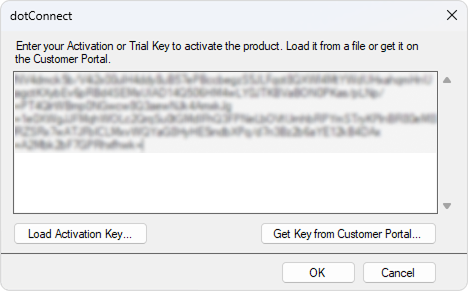
6. Enter your activation key or upload the file that contains it, then click OK.
1. Download dotConnect for MongoDB from the Devart website.
2. Locate the downloaded .exe file and double-click it to launch the installation wizard.
3. Follow the on-screen instructions in the Setup Wizard.
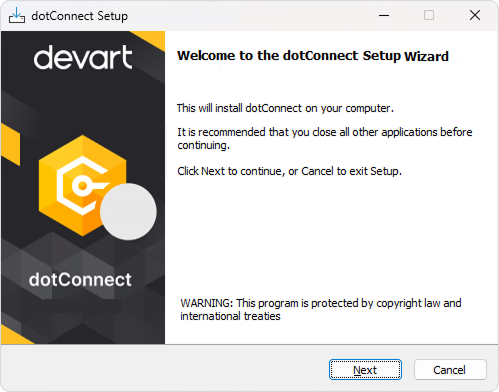
3.1. Read and accept the license agreement. Then click Next.
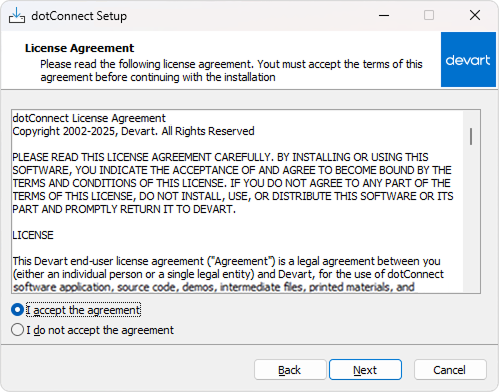
3.2. Choose the installation folder or use the default location (C:\Program Files (x86)\Devart\dotConnect\MongoDB). Then click Next.
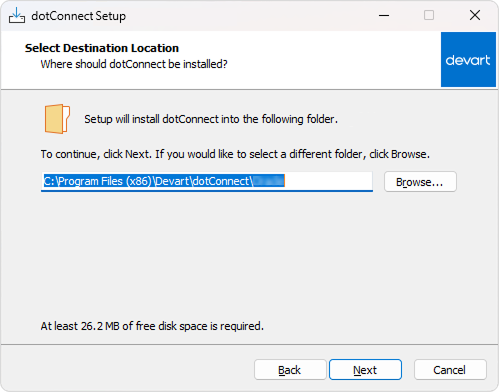
3.3. Select the components you want to install. Then click Next.
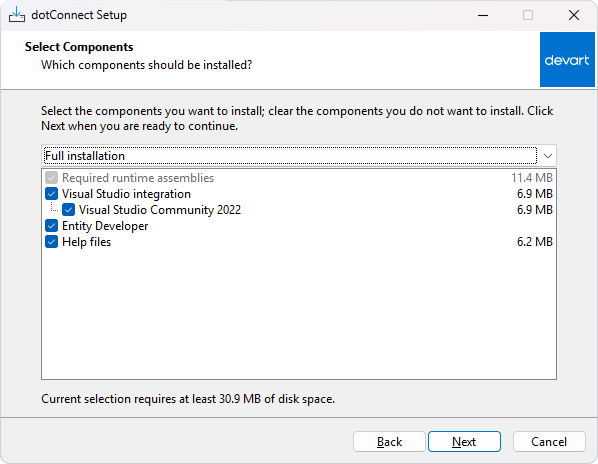
3.4. Select the Start Menu folder to save the provider's shortcuts. If you don't want to create the folder, select the Don't create a Start Menu folder checkbox. Then click Next.
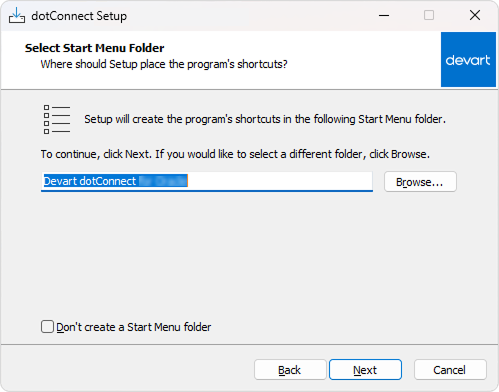
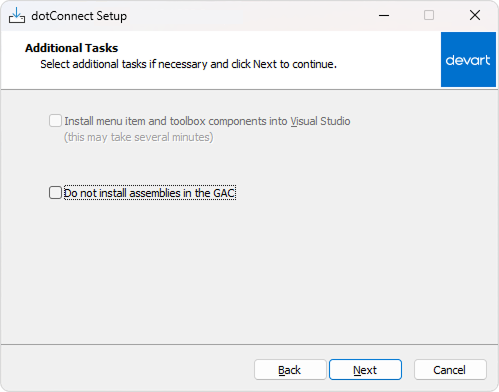
3.5. Optional: Select additional tasks.
Click Next to continue.
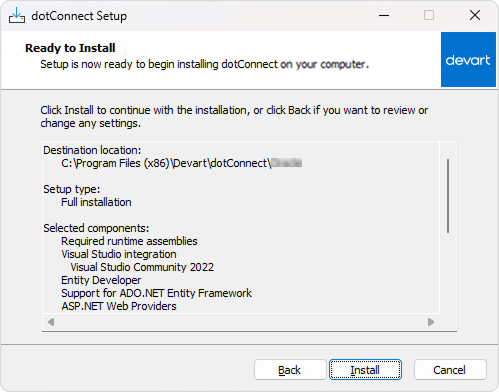
3.6. Click Install and wait until the installation is complete.
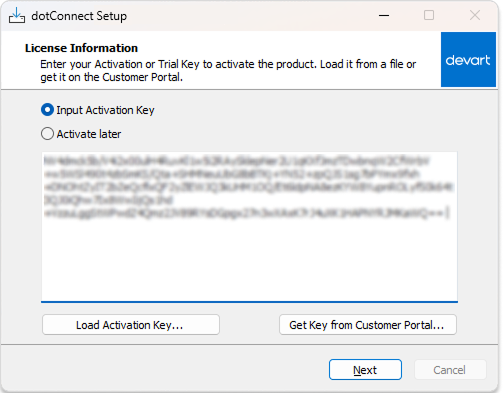
3.7. Select an activation mode.
Click Next to continue.
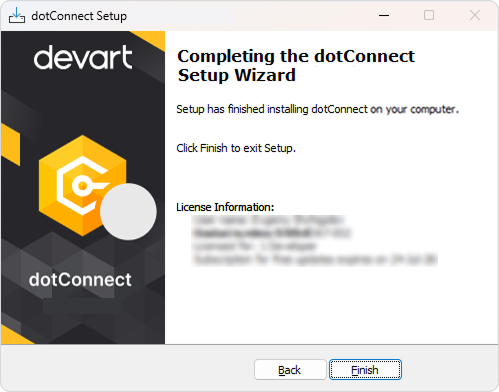
3.8. Click Finish.
dotConnect for MongoDB supports the following command-line installation modes: silent and very silent.
To install the provider from the command line using the preferred mode, follow these steps:
2. Open Command Prompt as an administrator.
3. Navigate to the folder where the installer is located. The default path is:
4. Run the installer with the required command-line arguments:
/DIR parameter specifies the installation folder on your computer. 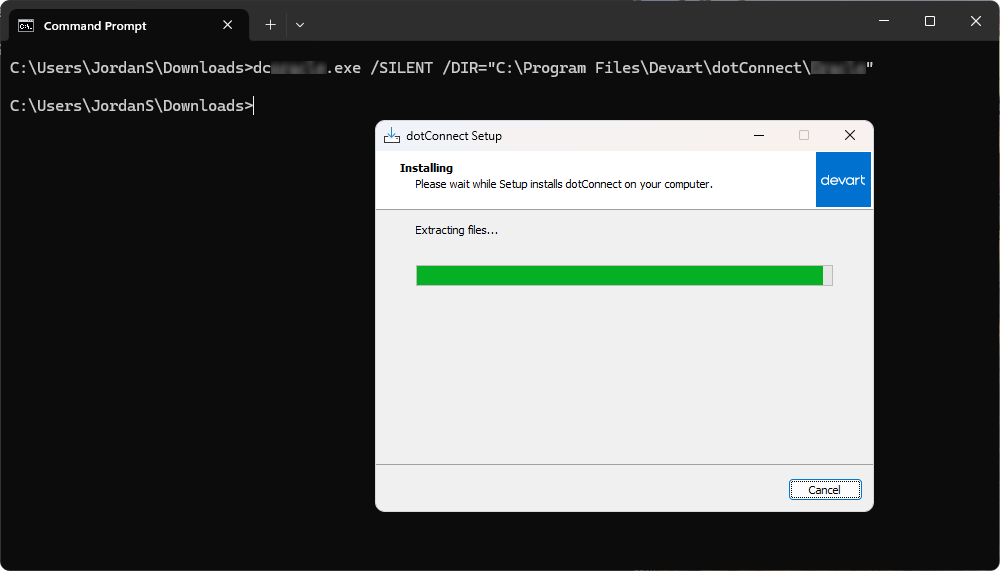
The installer places the native libraries required by the provider in the Native\win-x86 and Native\win-x64 subfolders of the installation folder:
libmongoc-1.0.dll and libbson-1.0.dll – MongoDB C driver 1.23.1.sqlite3.dll.vcruntime140.dll.You don't need to install the Visual C++ runtime separately.