ASP.NET Identity is a new system of user authentication and authorization, that continues the evolution of ASP.NET membership system, and is used in the Visual Studio 2015 project templates for ASP.NET MVC, Web Forms, Web API and SPA. You can read more on ASP.NET Identity in Microsoft documentation.
dotConnect for DB2 enables you to employ an implementation of ASP.NET Identity for DB2 database using either ADO.NET or Entity Framework functionality in your web applications. This allows you to use such ASP.NET Identity benefits as unit-testable user authentication system, social login support, OWIN integration, etc. This tutorial demonstrates creating an Entity Framework implementation of ASP.NET Identity.
To complete this tutorial you need Visual Studio 2015 or higher installed.
In order to create an ASP.NET MVC 5 application using dotConnect for DB2 for storing identity information, perform the following steps:
-
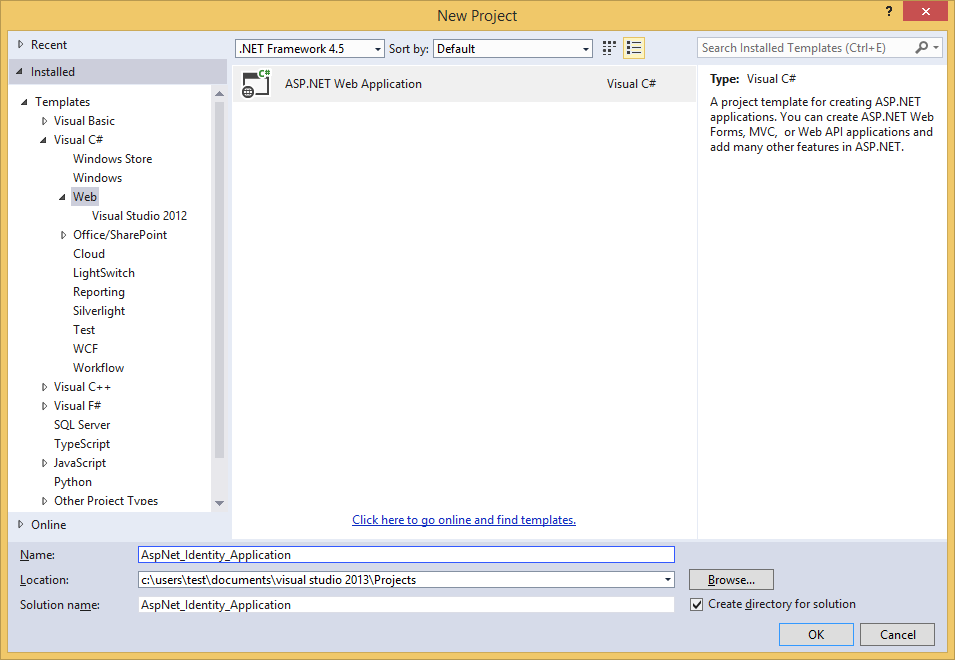
In the Add New Project dialog box expand Visual C# on the left, then Web, and then select ASP.NET Web Application. Name your project, for example, "AspNet_Identity_Application" and then click OK.

-
In the New ASP.NET Project dialog box, select the MVC template with the default options (that includes Individual User Accounts as authentication method) and click OK.

-
Add references to the necessary dotConnect for DB2 assemblies:
- Devart.Data.dll
- Devart.Data.DB2.dll
- Devart.Data.DB2.Entity.EF6.dll
You need to add the last file from the Entity\EF6 subfolder of the dotConnect for DB2 installation folder. Or you may add it from the GAC.
In the web.config file of your project, replace the default connection string with your DB2 one.
<add name="DefaultConnection" connectionString="user id=db2admin;server=db2;database=SAMPLE;" providerName="Devart.Data.DB2" />
Register the Entity Framework provider in the <providers> section of the web.config file
Before the registration:
	<providers>
	  <provider invariantName="System.Data.SqlClient" type="System.Data.Entity.SqlServer.SqlProviderServices, EntityFramework.SqlServer" />
	</providers>
After the registration:
	<providers>
	  <provider invariantName="System.Data.SqlClient" type="System.Data.Entity.SqlServer.SqlProviderServices, EntityFramework.SqlServer" />
	  <provider invariantName="Devart.Data.DB2" type="Devart.Data.DB2.Entity.DB2EntityProviderServices, Devart.Data.DB2.Entity.EF6, Version=1.6.127.0, Culture=neutral, PublicKeyToken=09af7300eec23701" />
	</providers>
Note: replace "1.6.127.0" with the actual version.
- Open the IdentityModels.cs file from the Models project folder.
Add the following namespaces to the using list:
-
Add the new Configuration class and register the dotConnect for DB2 provider SQL generator for Code-First Migrations.
-
Extend the ApplicationDbContext class code.
We need to add a static constructor setting the database initializer for the context.
After this we also need to add the OnModelCreating method, where we change type for character properties that aren't a part of entity key (they are filtered by their names) from the DBCLOB data type to VARGRAPHIC(256) via a lightweight convention.
The code before editing:
The code after editing:
Checking Application
Now we can run our application and check if everything works correctly.
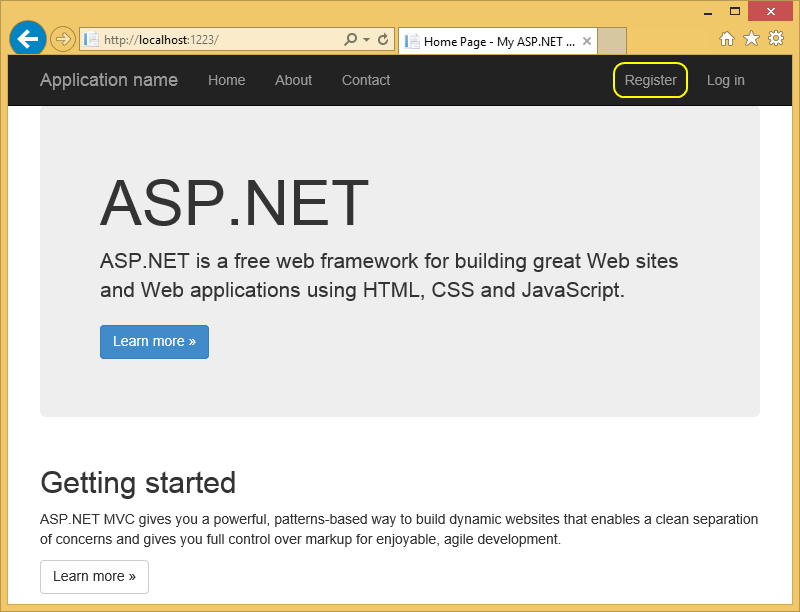
- Run the application by pressing CTRL+F5.

- Switch to the Register tab on the top of the page.

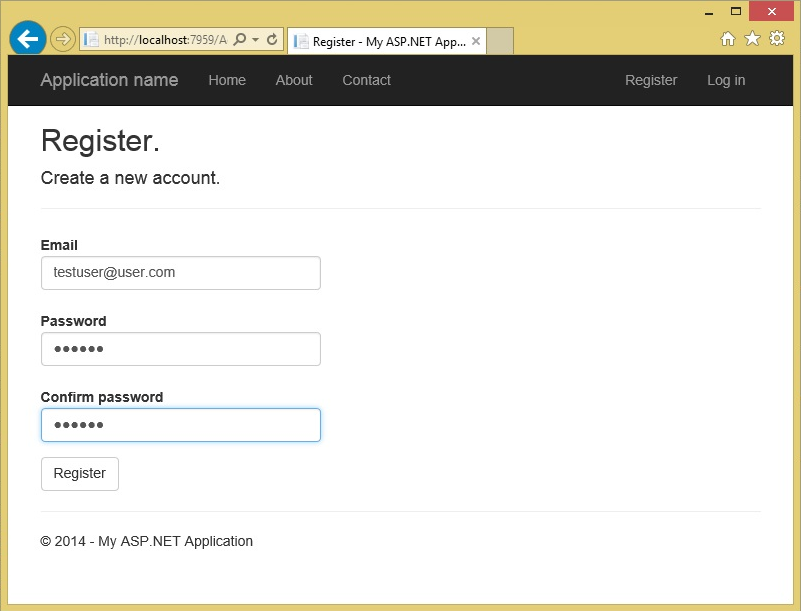
- Enter a new Email and password to the corresponding boxes and click the Register button.
- The new user is now registered and logged in, and the ASP.NET Identity tables are created in the DB2 database.

- After this you may use an appropriate database tool to connect to the database where the user data is stored and verify that the data is stored correctly.
See Also
Using Entity Framework Implementation of ASP.NET Identity 1 for DB2 | Using ADO.NET Implementation of ASP.NET Identity 1 for DB2 | Using ADO.NET Implementation of ASP.NET Identity 2 for DB2