This tutorial requires SQL Server 2012 and Microsoft SQL Server Integration Services Designer. A similar Integration Services package can be created with SQL Server 2008 and BIDS 2008; however, there may be some differences, mostly in using the Toolbox. In BIDS 2008, dotConnect for MySQL SSIS Data Flow components are not added to the Toolbox by default. You need to add them yourself as described in SSIS Data Flow Components Installation in BIDS 2008. The names of the Toolbox tabs are also different in BIDS 2008 and Microsoft SQL Server Integration Services Designer.
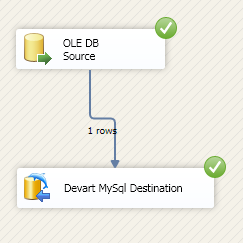
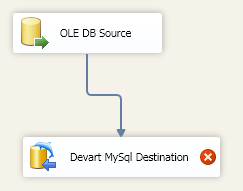
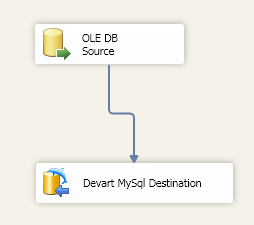
For the purpose of this tutorial, we create an OLE DB Source and a Devart MySql Destination.
In the Control Flow tab, from the Control Flow Items tab in the Toolbox, drag Data Flow Task to the design area. The Data Flow Task is created.
Switch to the Data Flow tab. From the Other Sources tab of the Toolbox drag the OLE DB Source to the design area.
From the Common tab of the Toolbox drag Devart MySql Destination to the design area. (By default dotConnect for MySQL SSIS Data Flow components are added to the Common tab when installing dotConnect for MySQL.)
Connect the two data flow objects with a Data Flow path.
For this example we need two connections - one for the OLE DB Source, the other one for the Devart MySql Destination. To create a connection to MySQL, do the following:
- Right-click in the Connection Managers pane and select New Connection
from the context menu. The Add SSIS Connection Manager dialog box is displayed:
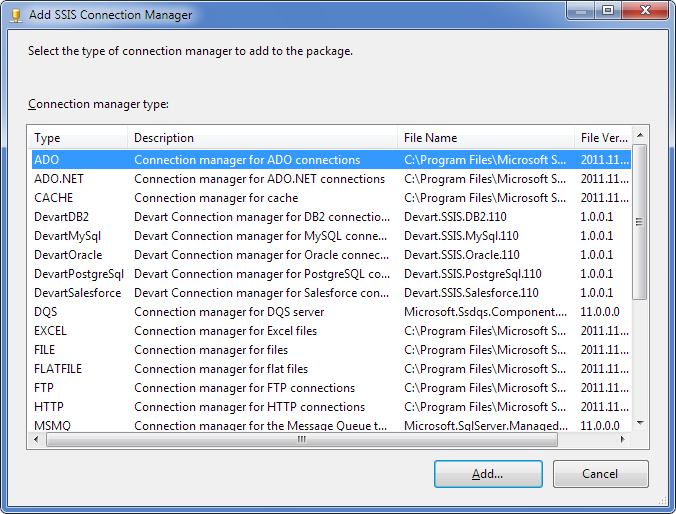
- In the Connection manager type list select DevartMySql and
click Add. The General tab of the MySql Connection Manager Editor
dialog box is displayed:
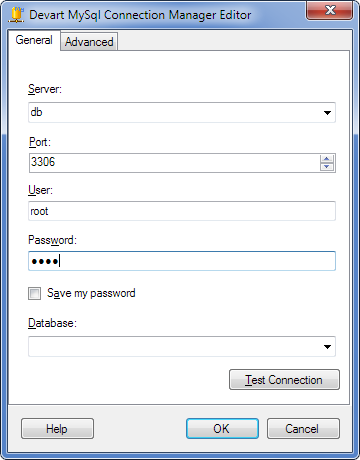
- Specify the server and port to connect to, your MySQL user name and password. If necessary, additionally specify the database to connect to.
The connection is now created.
To create a connection for the OLE DB Source we do the following:
- Right-click in the Connection Managers pane and then click New OLE DB Connection. The Configure OLE DB Connection Manager dialog box is displayed.
- Click New.
The Connection Manager dialog box is displayed; fill in the connection settings
as required, e.g. as follows:
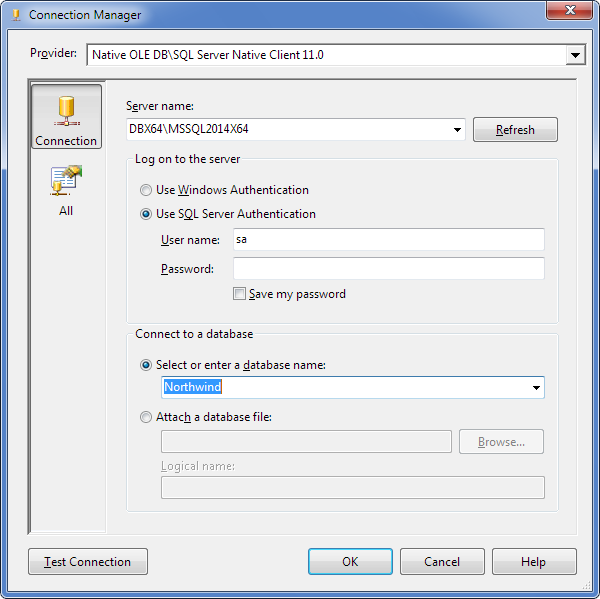
Click OK.
- Click OK in the Configure OLE DB Connection Manager dialog box.
The connection for the OLE DB source is now created.
 Note: Note: |
|---|
|
If you create an Integration Services package in BIDS 2008, you will need to do additional actions to open the Configure OLE DB Connection Manager dialog box instead of simply selecting New OLE DB Connection from the shortcut menu. To be more specific, you will need to right-click in the Connection Managers pane and then click New Connection instead of New OLE DB Connection, as the latter is not present in BIDS 2008. After this, the Add SSIS Connection Manager dialog box is displayed. In the Connection manager type list select OLEDB and click Add. Then the Configure OLE DB Connection Manager dialog box is displayed, and after this you need to perform the steps above. |
After the two required connections are created, we can proceed to customizing the data flow items.
In the Data Flow design area, double-click the OLE DB Source data flow item.
The Connection Manager tab of the OLE DB Source Editor dialog box is displayed.
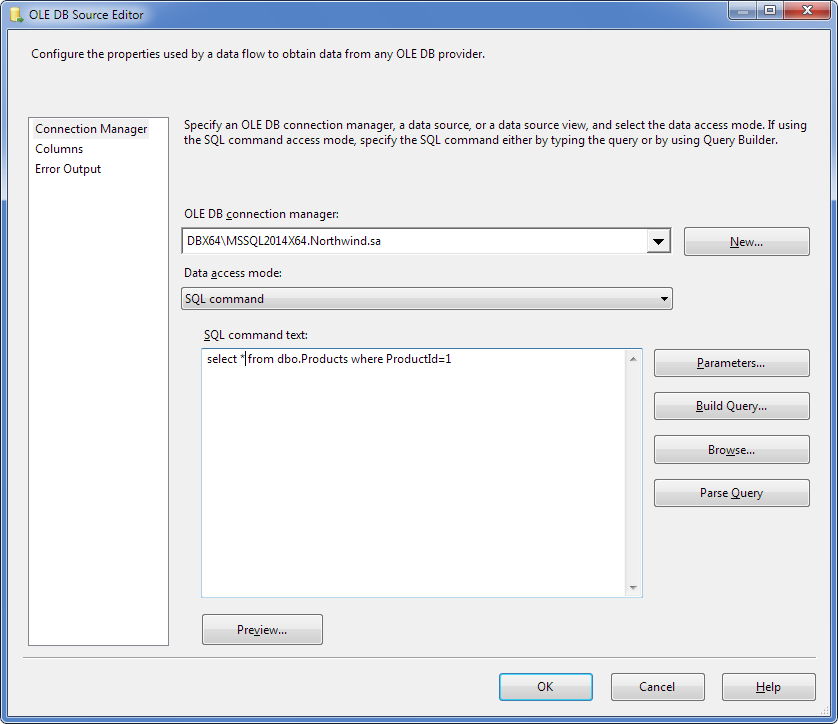
Specify the following settings in this tab:
- Select the required connection in the OLE DB connection manager drop-down list;
- Select the Data access mode, e.g. SQL command;
- Enter the required query in the SQL command text field.
Switch to the Columns tab.
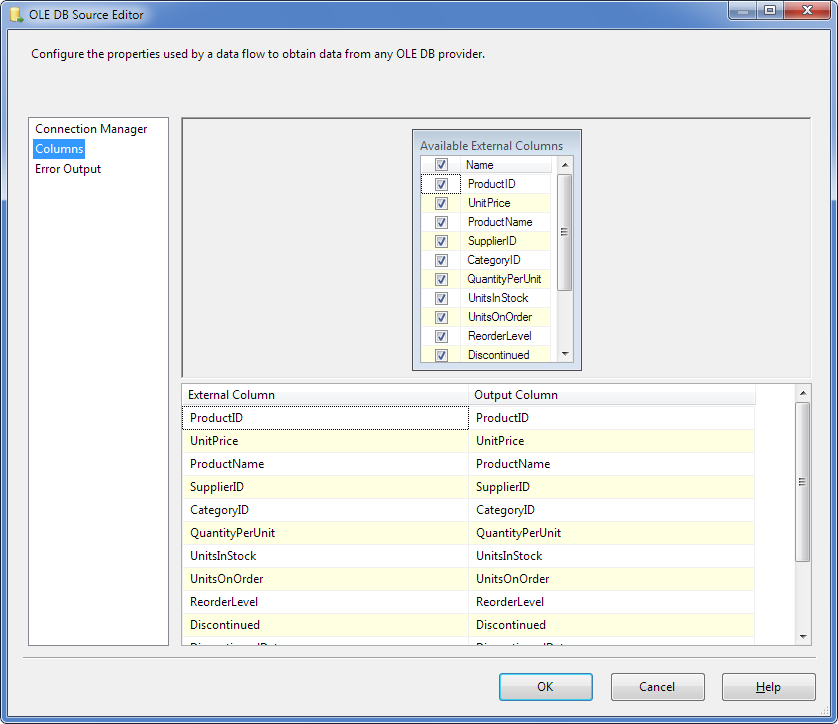
Configure the properties used by the data flow to obtain data from the OLE DB typer:
- Select the required columns in the Available External Columns box;
- Configure Output Column names, if necessary.
Switch to the Error Output tab.
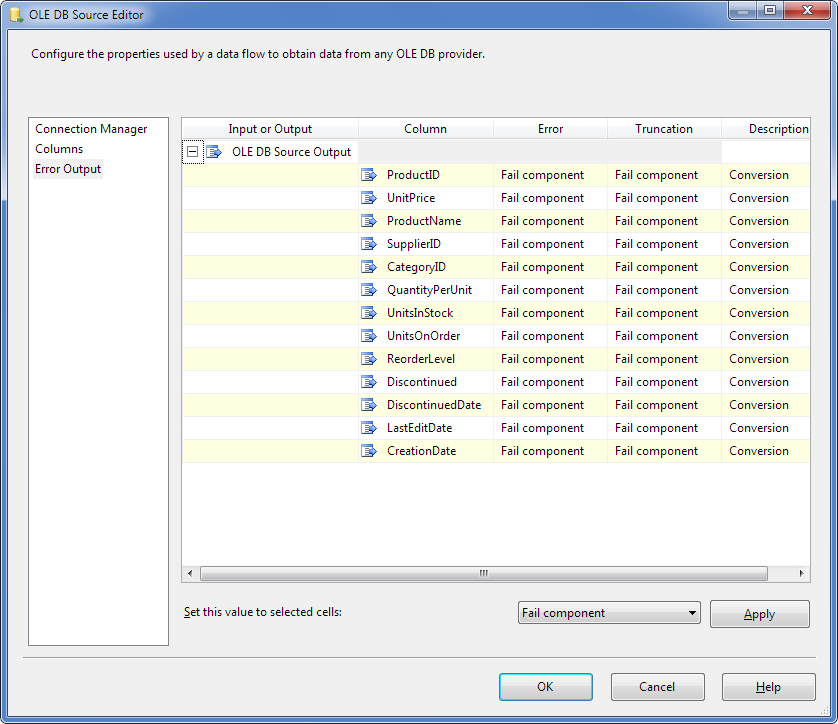
This tab allows you to specify in what way component failure should be treated; the following options are available: Fail component, Redirect row, Ignore failure.
After all options are set, click OK.
If all options are set correctly, the red marker on the data flow object disappears.
Proceed to customizing the Devart MySql Destination data flow object.
Double-click the Devart MySql Destination in the design area. The Connection Managers tab of the Advanced Editor for Devart MySql Destination dialog box is displayed.
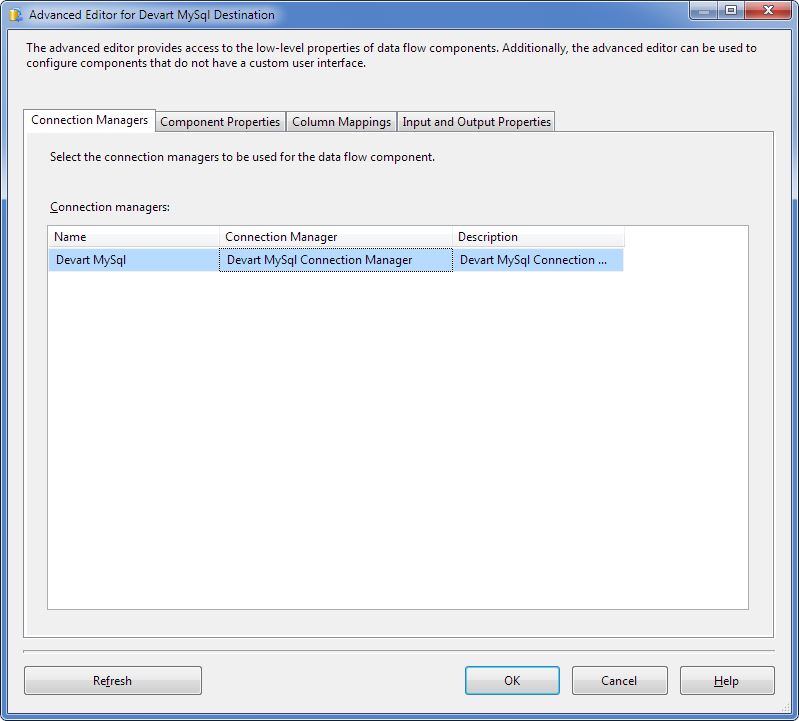
Select the Devart MySQL Connection Manager in the Connection Manager drop-down list and go to the Component Properties tab.
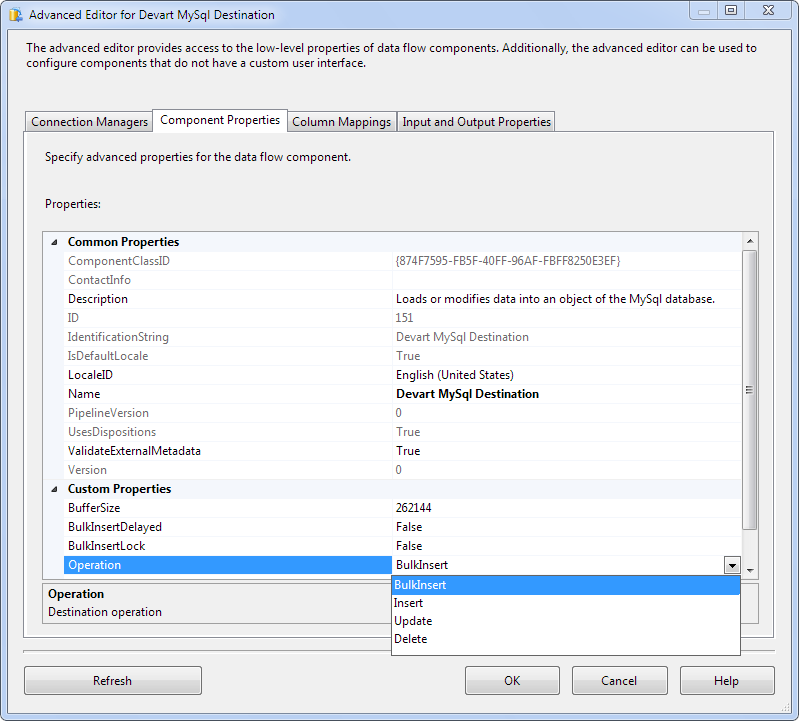
Here you can customize the data flow component properties. Pay attention to Custom properties. In addition to the Insert operation, Devart MySql Destination supports Update, Delete, and high-performance BulkInsert operation.
Go to the Column Mappings tab.
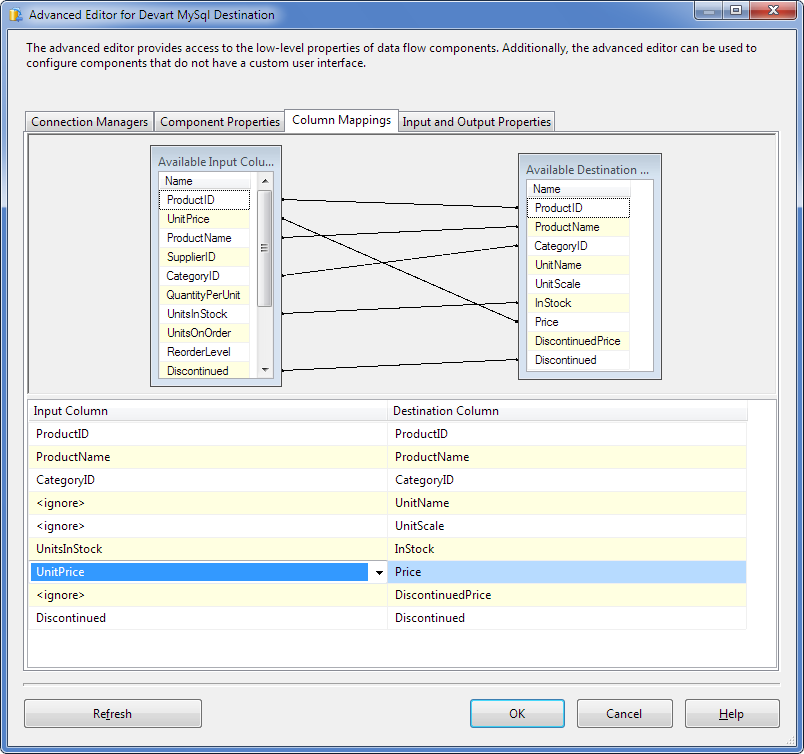
This tab displays mapping defined automatically by SSIS on the basis of the column name correspondence. If necessary, the default mapping can be changed in this tab according to your needs. For this, use the Input Column drop-down lists, or just draw connecting lines between the required column names.
After mapping is defined, switch to the following Input and Output Properties tab.
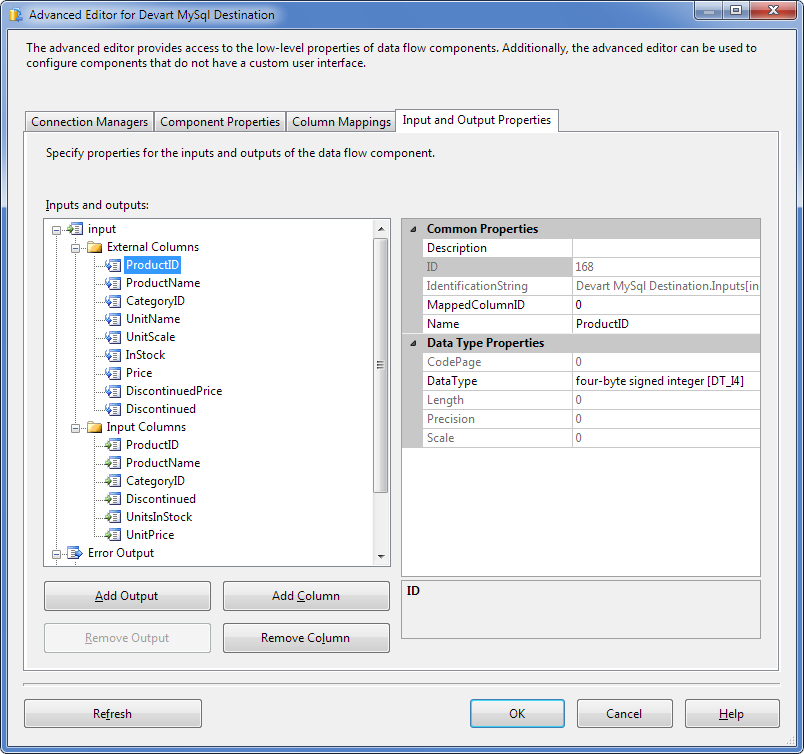
In this tab you can review input and output properties of the data flow component. Click OK.
Make sure that the red marker is absent on the Devart MySql Destination data flow object.
Right-click the design area and select Execute Task in the context menu. The green color of the data flow objects indicates that the data flow process is completed successfully: