How to document a SQL Server database
After the connection was established, you can start setting up the documentation and customize its layout.
Setting up the documentation
To set up the documentation
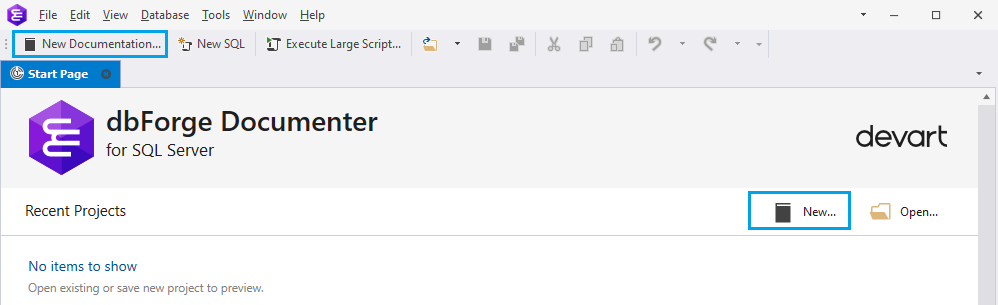
1. To start a new documentation project, do one of the following steps:
- On the Start Page, click New Documenter Project in the upper-right corner.
- On the standard toolbar, click New Documentation.
Note
To open the documentation project you have already been working on, click Open on the Start Page or click its name in Recent Projects.
2. In the Select Connections dialog, select the check box connection and click Select. If you want to create a new connection or modify the existing one, see Setting up the connection.
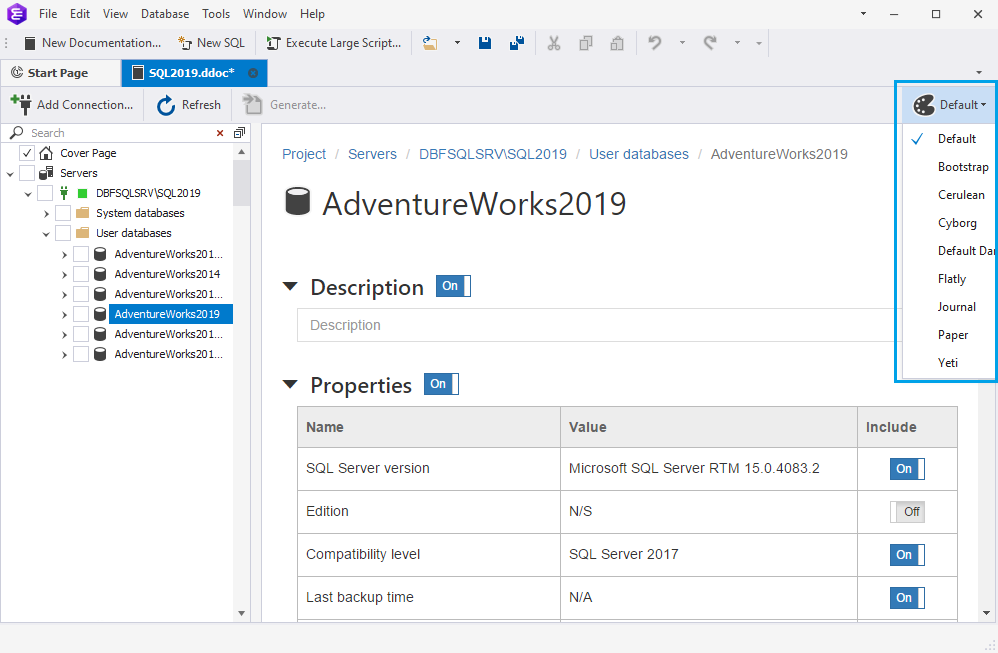
3. Optional: In the Database Documenter project that opens, select a style for the document from the Style drop-down list in the upper-right corner.
4. In the database documentation tree, select the Cover Page check box to set up the cover page of the generated document. For more information about cover page setup, see Editing the cover page.
5. In the database documentation tree, select the database or database objects you want to document.
dbForge Documenter for SQL Server allows you to configure documentation at the following levels:
- Server level
- Database level
- Object level
Note
If database objects were added, modified, or removed while you were working on the documentation, click Refresh on the documentation toolbar.

6. In the Database Documenter project, include or exclude sections and properties into/from documentation for individual objects or groups of objects. For more information about object inclusions and exclusions, see Customizing the documentation.
Note
You can save the documentation project file at any time and then re-use it. To save the project, on the standard toolbar, click Save. The project is saved in the .ddoc file format.
7. To start generating the documentation, click Generate.
Editing the cover page
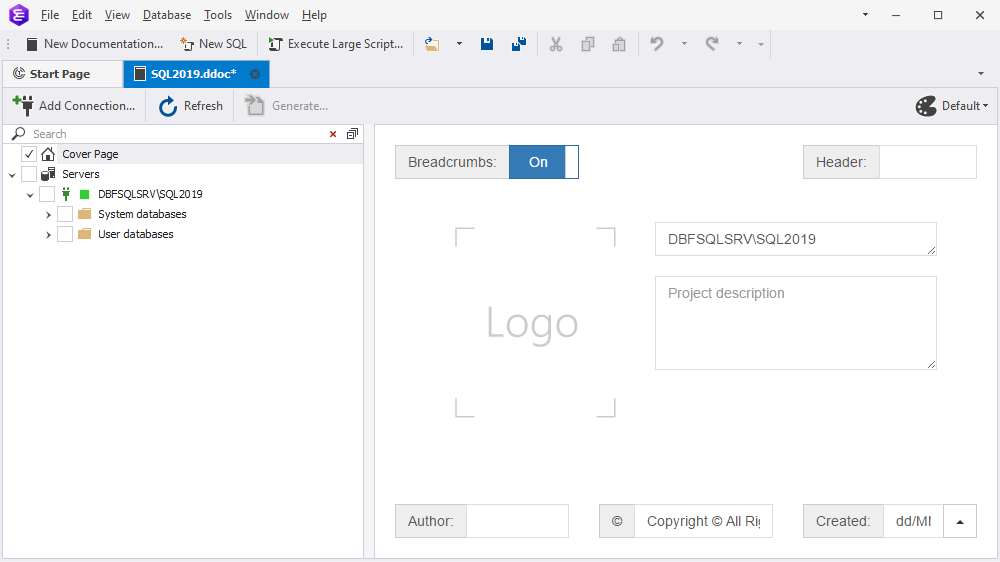
The project cover page consists of the breadcrumbs, header, logo, project title and description, and footer that includes the author name, copyright information, and generation date. The header and footer are used throughout the generated documentation.
To edit the cover page
1. In the database documentation tree, select the Cover Page check box.
2. By default, breadcrumb navigation is enabled. To disable breadcrumbs in the generated documentation, turn the toggle switch to off.
3. To include text you want to appear on each page of the generated documentation, type the text in the Header text box.
4. To add a logo, click Browse in the Logo block, select the image file you want to use, and click Open.
5. To add a title and description of the project to the cover page of the generated documentation, type the title and description in the Title and Project Description fields respectively.
6. On the footer, add the following information:
- Author: Enter the author name of the document.
- Copyright: Add the copyright information.
- Created: Select the date format from the drop-down list that displays the current date of documentation generation.
The available date formats are as follows:
| Date format | Example |
|---|---|
| dd MMMM yyyy HH: mm | 17 June 2021 11:27 |
| dd MMMM yyyy | 17 June 2021 |
| dd MMMM | 17 June |
| yyyy/MM/dd | 2021/06/17 |
| dd/MM/yyyy | 17/06/2021 |
| MM/dd/yyyy | 06/17/2021 |
Note
Timestamp formats use standard Windows format strings, such as dd, mm, and yyyy. However, you can customize the date and time with all possible formats. For more information about using custom date and time format strings, see Custom date and time format strings.
The information included in the footer will be displayed on each page of the generated documentation.
Customizing the documentation
In the Database Documenter project, you can include or exclude sections, properties, or individual objects or groups of objects into/from the documentation. Depending on the object you want to document, the preview Database Documenter project will display object-specific sections. For more information about objects that can be included in the documentation, see Documentation Overview.
If you want to document a group of objects, a database, or a SQL Server instance, the Sections To Include section is displayed only in the preview mode.
To customize the documentation
1. In the database documentation tree, select the object or group of objects you want to document. The Database Documenter project preview opens.
2. In the Description field, type the text that informs what your documentation project is about and then click Save. A new description will be added. If there is a description, then it will be overwritten with the new one. If you want to discard the changes, click Cancel.
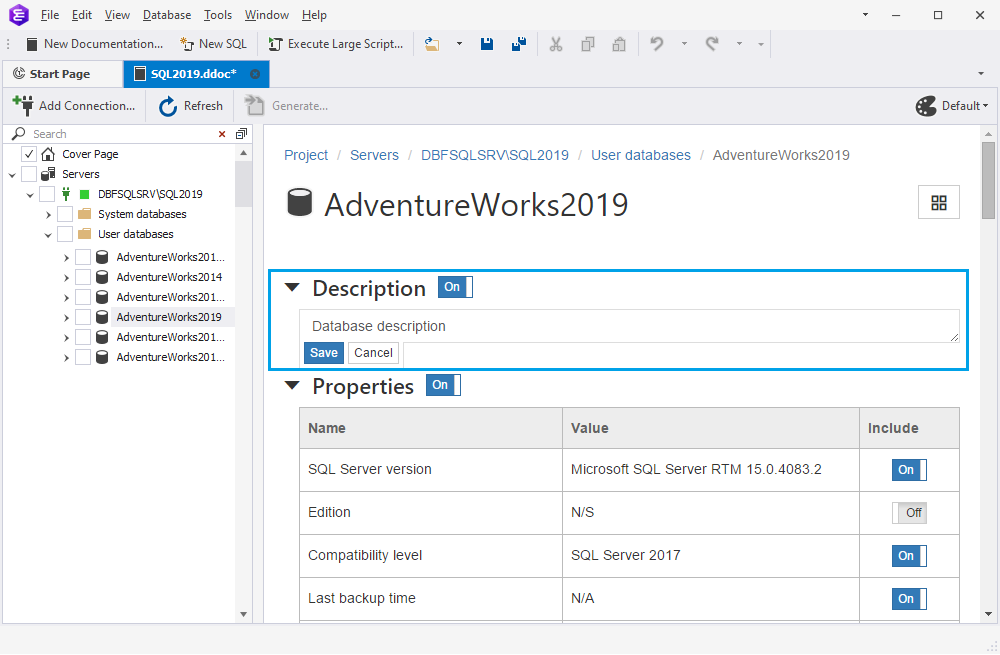
3. Choose the sections and properties you want to include in the documentation. By default, all sections and properties are switched to ON. To exclude the sections or individual objects from the documentation, turn the toggle switch to Off next to the section or object in the Include column respectively.
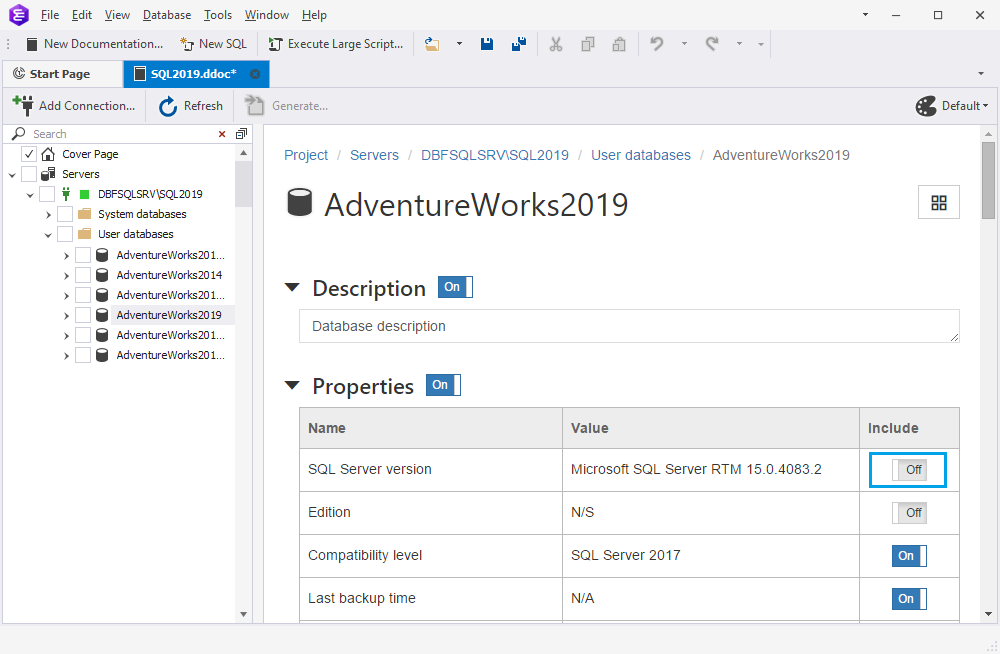
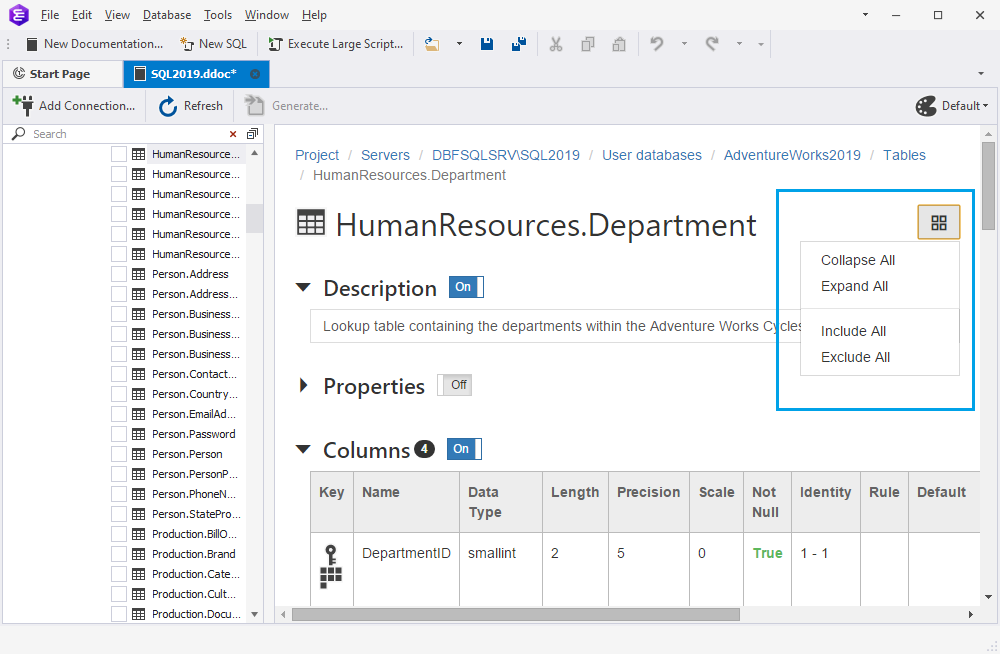
If properties are disabled for a particular object included in the group, the group switch will have the middle position. For example, we have disabled properties for the HumanResources.Department table. When switching to the group of tables, we see that the switch for the Properties section takes the middle position.
![]()
In the Database Documenter project preview, you can expand, collapse, include, or exclude objects and properties in a bulk.
Download dbForge Documenter for SQL Server and try it absolutely free for 30 days!