How to use data export templates
With Data Pump, you don’t have to waste time configuring the same settings each time you want to export your data. You can configure them once, save them to a custom template file, and reuse them whenever it is required - for instance, if you need to perform daily export operations.
How to create a template
1. First, you need to configure the settings to be saved as a template. In Object Explorer, right-click a database, point to Data Pump, and click Export Data.
2. The actual configuration of settings may differ, depending on the format. You will find the full workflow for each format in the corresponding topic:
- HTML
- Text
- Microsoft Excel (XLS)
- Microsoft Excel 2007+ (XLSX)
- Microsoft Access
- RTF
- JSON
- XML
- CSV
- ODBC
- DBF
- SQL
- Google Sheets
3. Once you have configured the settings for your future template in the wizard, click Save Template.
4. Specify the name and the location of your template file in the Save As dialog box and click Save.
That’s it! Now let’s see how effortless it is to load your template.
How to load a template
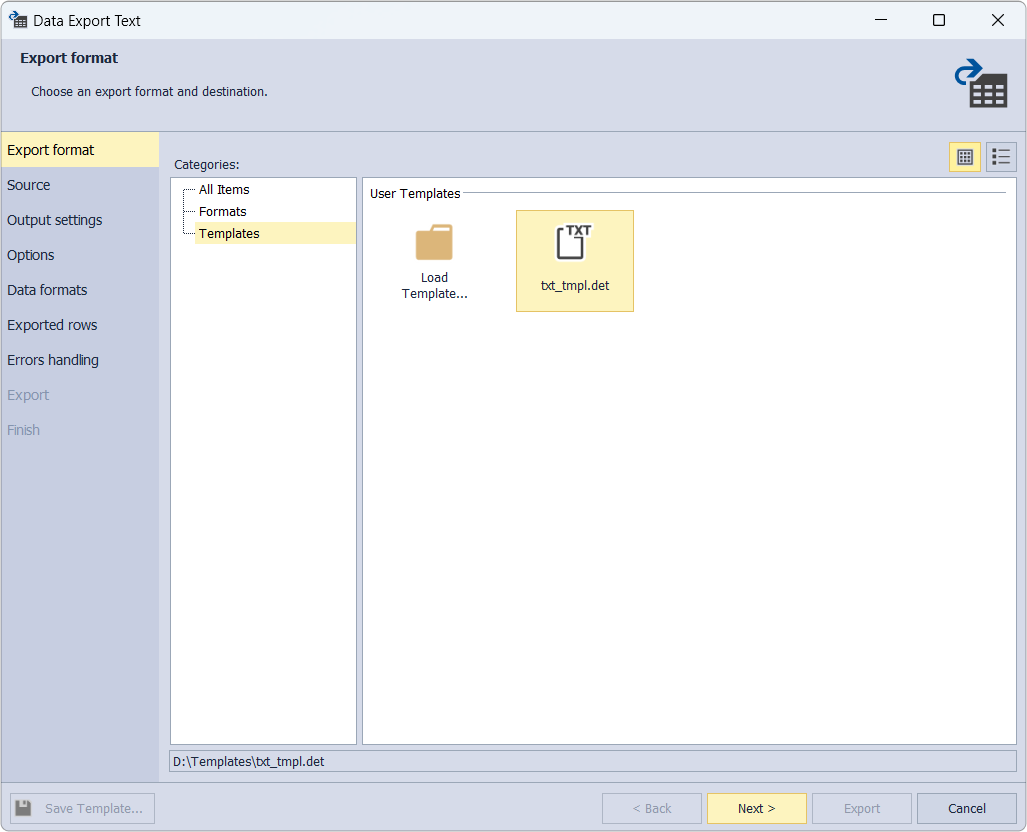
1. Once more, go to Object Explorer, right-click a database, point to Data Pump, and click Export Data to proceed to the Export format page.
2. In Categories, select Templates. Then find the saved template among User Templates and select it. In our example, it is txt_tmpl.det.
3. Click Next. On the Source page, you can modify the connection, database and its schema, table(s) and view(s). As soon as you’re done, click Next.
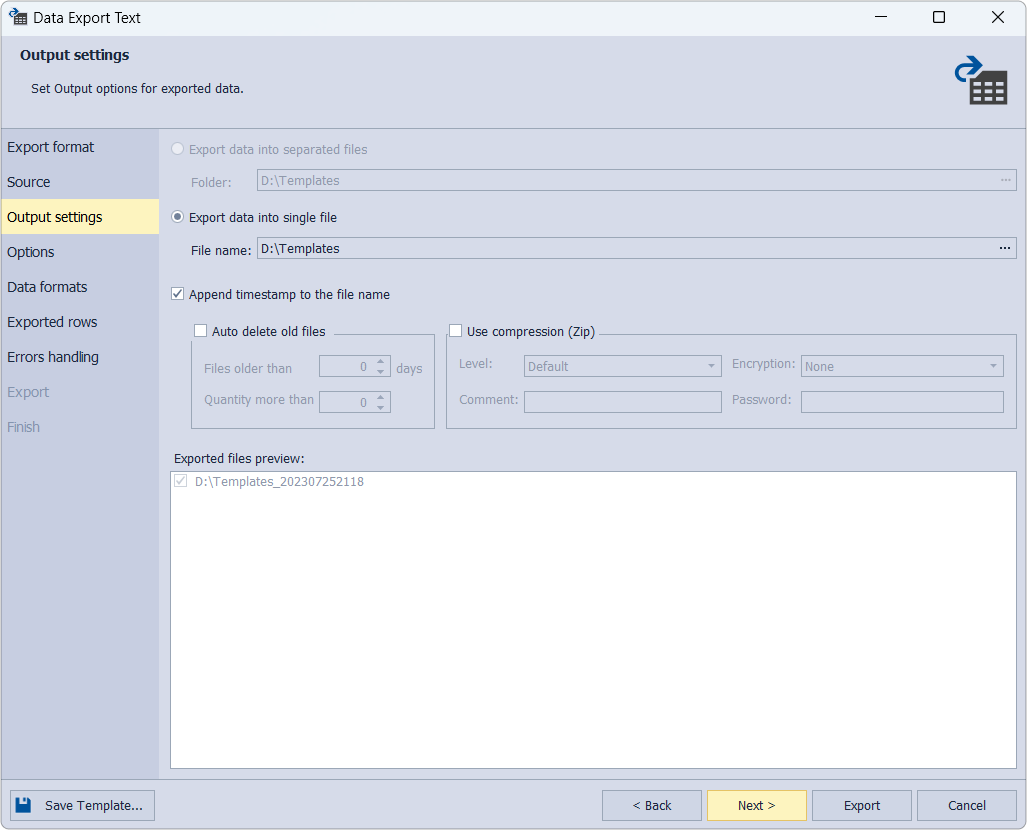
4. On the Output settings page, you can configure the options for exported data. They are:
-
Export data into single file allows specifying the destination path to the template.
-
Append timestamp to the file name lets you add a timestamp to the template. If you select the option, Auto delete old files will become available automatically. This one permits auto-deleting the exported template if it is older than a specified number of days.
-
Use compression (Zip) enables you to create an archive file with your template. Additionally, you can specify the compression level, add a comment, encrypt your archive with the AES128 or AES256 encryption, and specify a decryption password.
When you finish with the page, click Next.
5. The Options page includes different formatting options for your template, such as:
-
Use Unicode enables the utilization of the Unicode character encoding standard.
-
Show a table header allows displaying a header row in a table.
-
Text alignment permits you to select the location of the text: Left, Center, Right.
-
Column length lets set the length for a column.
-
Show grid makes it possible to show the grid in a table and apply various borders.
-
Keep tabs empowers you to preserve the tabs in the template.
-
Insert spaces allows adding spaces.
The results of your configuration will be displayed in Sample.
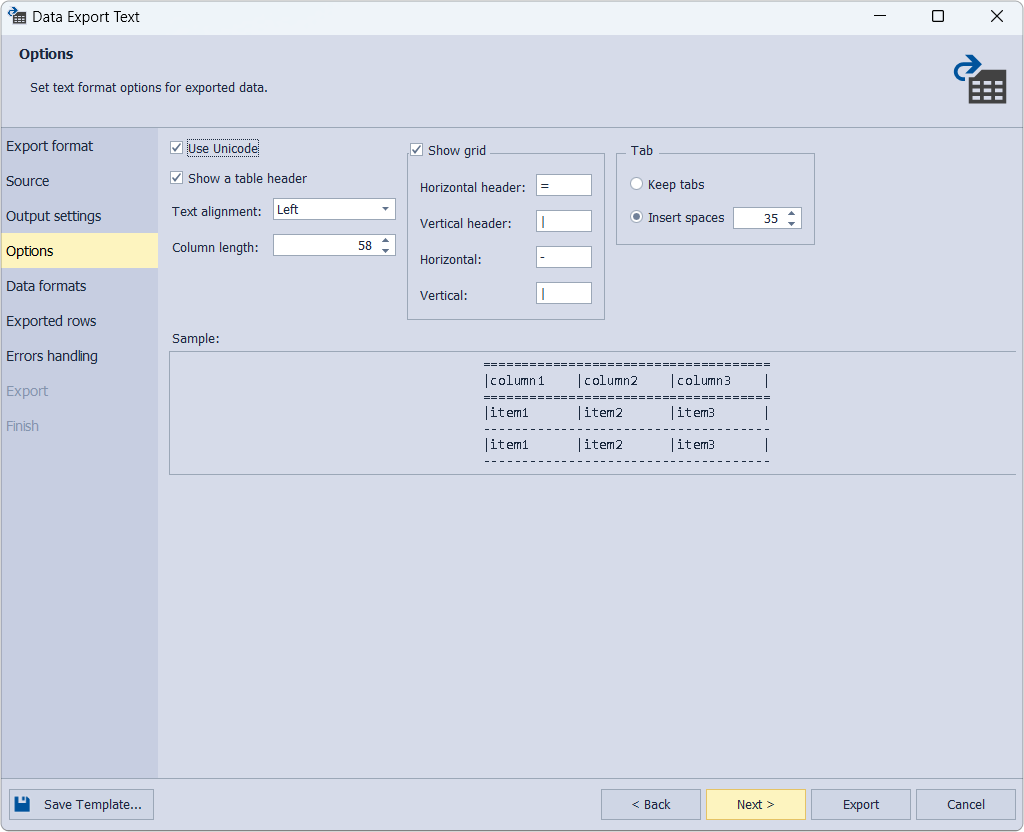
Once configured, click Next
6. On Data formats, there are two tabs: Columns and Formats. On the Columns tab, you can select the columns you want to export. Formats allows you to specify the format settings for the date, time, date time, currency, float, integer, boolean, null string. After you have configured the settings, click Next.
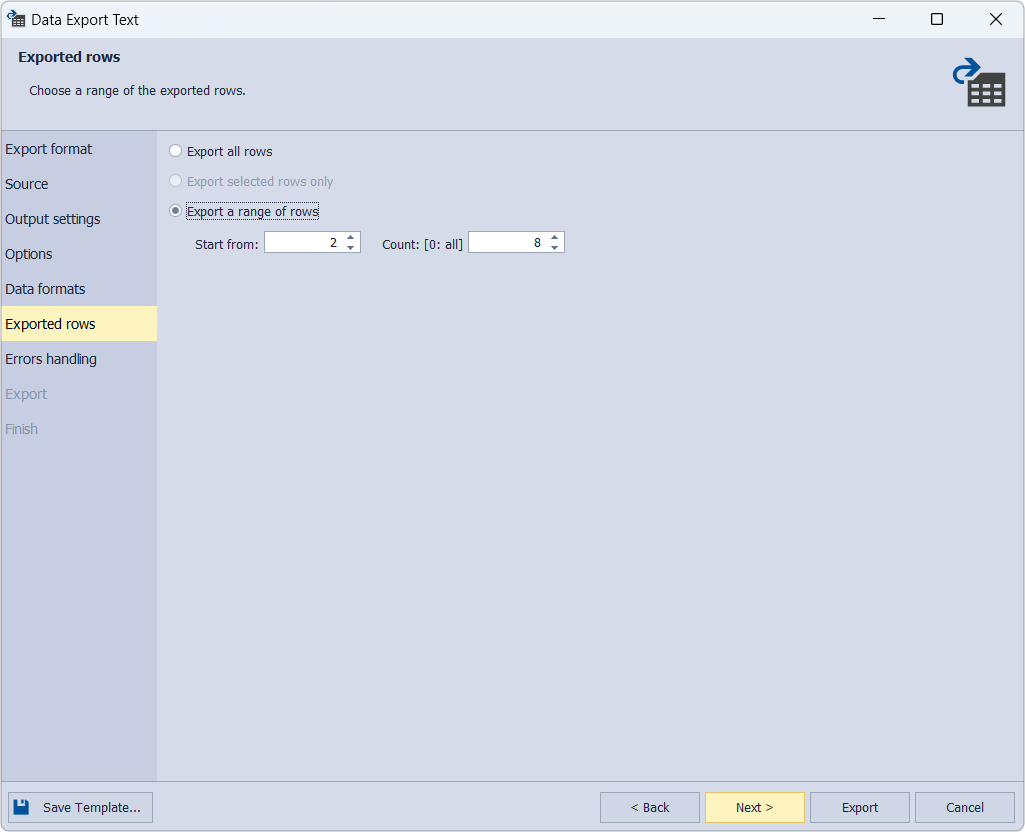
7. The Exported rows page enables you to adjust such options:
-
Export all rows lets export all rows.
-
Export a range of rows permits setting the export of a specified range of rows.
After completing the page, click Next.
8. On the Errors handling page, it’s possible to customize the following options:

-
Prompt a user for an action empowers you to require a user’s input in case of some errors while the export process.
-
Ignore all errors lets skip all errors.
-
Abort at the first error allows you to stop the export process at the first error.
-
Write a report to a log file permits logging the export process and setting a destination path to a log file.
Finally, click Export.
9. When the export process is finished, click Finish.
Note
With templates at hand, you can automate recurring data export operations using the command line.